When it comes to electronic music, MIDI (Musical Instrument Digital Interface) is a game-changer. One of its powerful features is the ability to send program changes. This means you can switch instruments or sounds on your MIDI device with just a simple command. Let’s dive into how this works and why getting your MIDI connections right is crucial.
What are Program Changes?
Program changes are MIDI messages that tell your electronic instrument to switch to a different preset sound or instrument. For example, you could switch from a piano sound to a guitar sound on your synthesizer without physically touching the instrument. This is incredibly useful during live performances or when recording in a studio, as it allows for smooth transitions between different sounds.
Setting Up MIDI Connections
Before you can send program changes, you need to ensure your MIDI devices are connected correctly. MIDI devices typically have MIDI In, MIDI Out, and sometimes MIDI Thru ports. Here’s a simple way to understand them:
- MIDI In: Receives MIDI data from another device.
- MIDI Out: Sends MIDI data to another device.
- MIDI Thru: Passes MIDI data received at MIDI In to another device (used for daisy-chaining multiple devices).
It’s essential to connect the MIDI Out of your controller (like a keyboard) to the MIDI In of your sound module or synthesizer. If these connections are incorrect, your devices won’t communicate, and no program changes will happen.
Sending Program Changes
Once your devices are connected, sending a program change is straightforward. Most MIDI controllers have buttons or dials that can send program change messages. Many devices manage and send program change MIDI messages automatically in the background, when you select the desired sound.
For example, if you want to switch to a piano sound, you might select program number 1. If you want a guitar sound, you might choose program number 25. The specific numbers can vary based on the General MIDI standard or the specific setup of your device.
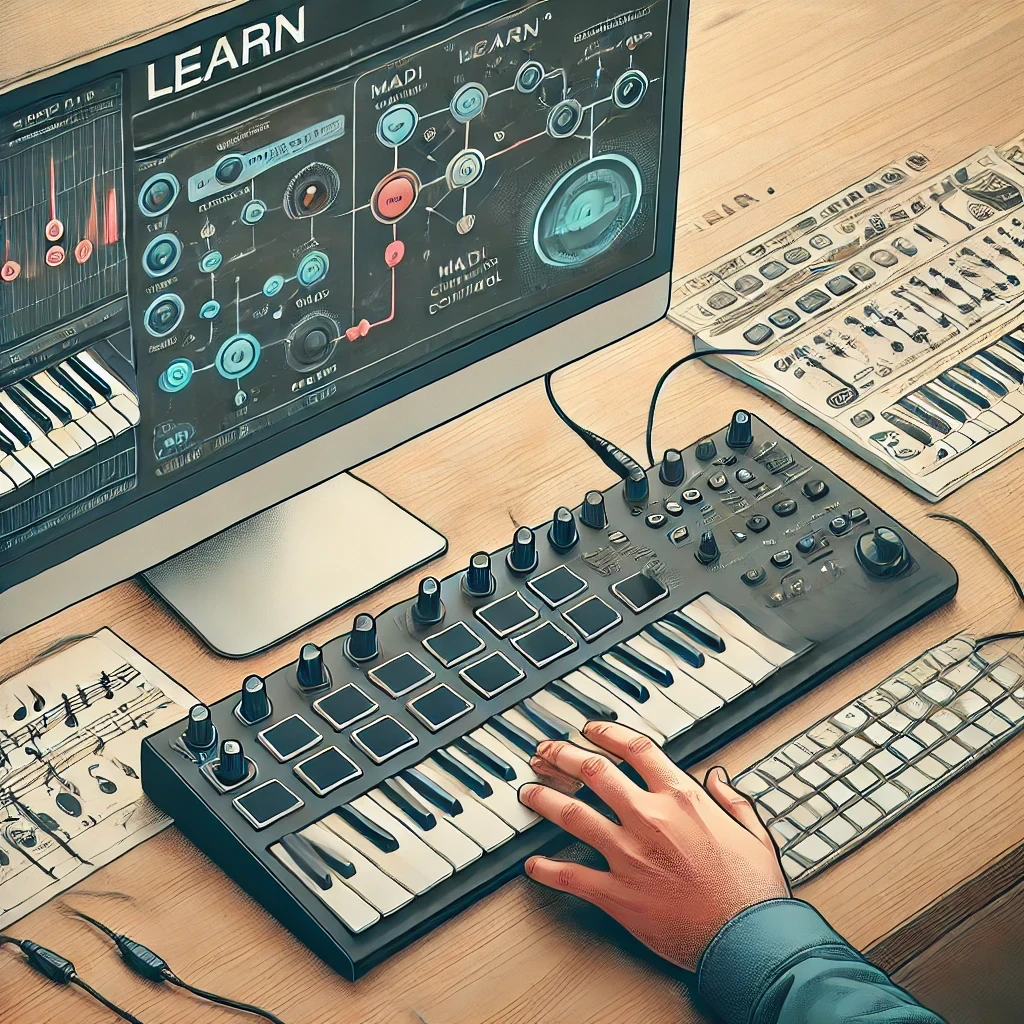
Using the Learn Function
Many modern MIDI software and keyboards come with a “learn” function. This feature makes mapping MIDI controls to specific software parameters incredibly easy. Here’s how it works:
- Activate Learn Mode: In your software (like a digital audio workstation or DAW), find the MIDI learn function. It’s often a button labeled “Learn” or “MIDI Learn.”
- Select the Control: Click on the software parameter you want to control (e.g., volume slider, effect knob). In this case we want the patch/program selector.
- Move the Control: Move the corresponding control on your MIDI device (e.g., turn a knob, press a button). The software detects this movement and maps the control to the selected parameter.
This process ensures that your MIDI controller and software are perfectly in sync, making it easier to control your music.
Why It’s Important
Getting your MIDI connections right and understanding how to send program changes can significantly enhance your music-making process. It ensures that your instruments respond correctly to your commands, whether you’re performing live or working in a studio. Additionally, using the learn function simplifies the setup process and makes it easier to customize your controls.
In summary, sending program changes with MIDI opens up a world of possibilities for musicians. By connecting your devices correctly and utilizing features like the learn function, you can streamline your workflow and focus more on creating great music. Whether you’re a beginner or an experienced musician, mastering these MIDI basics is essential for taking your music to the next level.