In the world of digital music production, a MIDI sequencer is an essential tool. It allows musicians and producers to create, edit, and play back music by managing MIDI data. This blog will focus on sequencer software for computers but will also touch on the fact that many keyboards come with built-in sequencers.
What is MIDI?
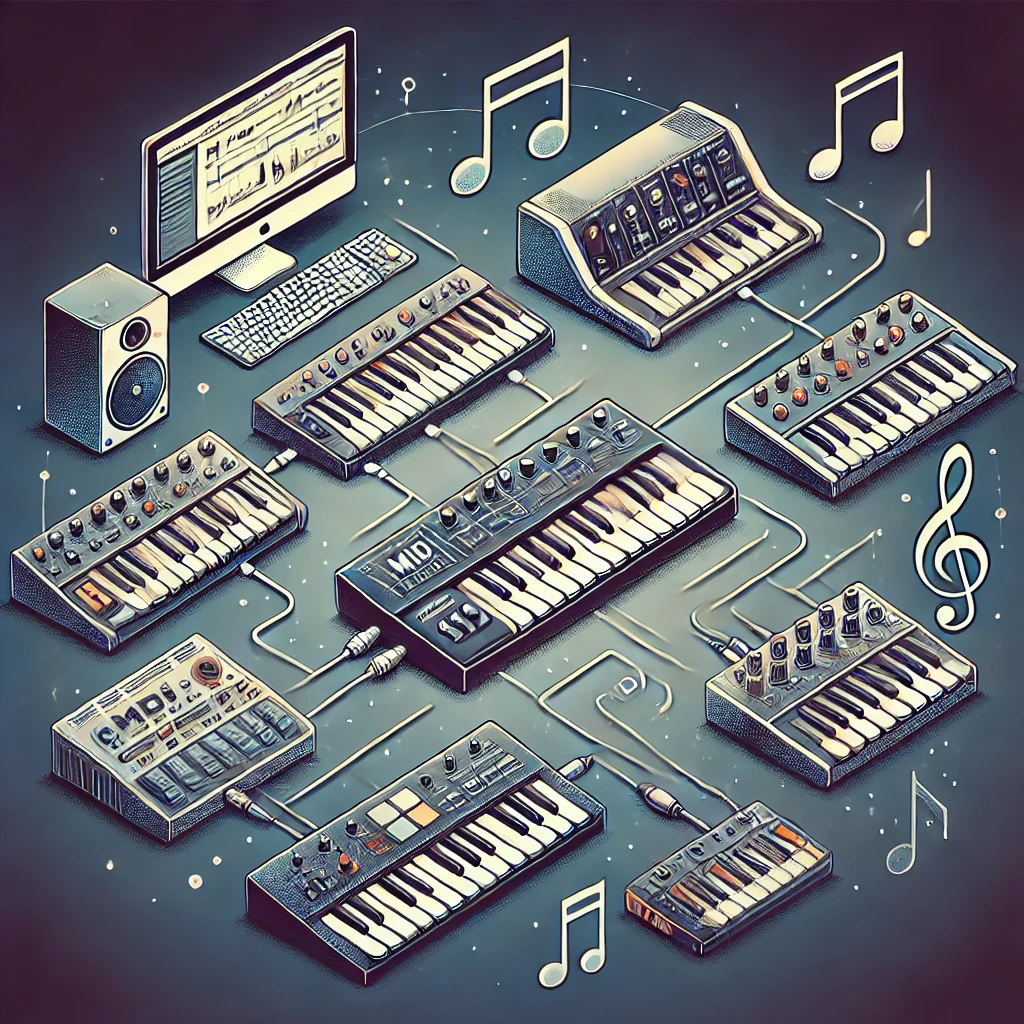
Before diving into MIDI sequencers, let’s briefly recap what MIDI is. MIDI, or Musical Instrument Digital Interface, is a protocol that allows electronic musical instruments, computers, and other devices to communicate. It sends instructions on how to play notes, rather than the audio itself. This makes MIDI a powerful tool for composing and arranging music.
What is a MIDI Sequencer?
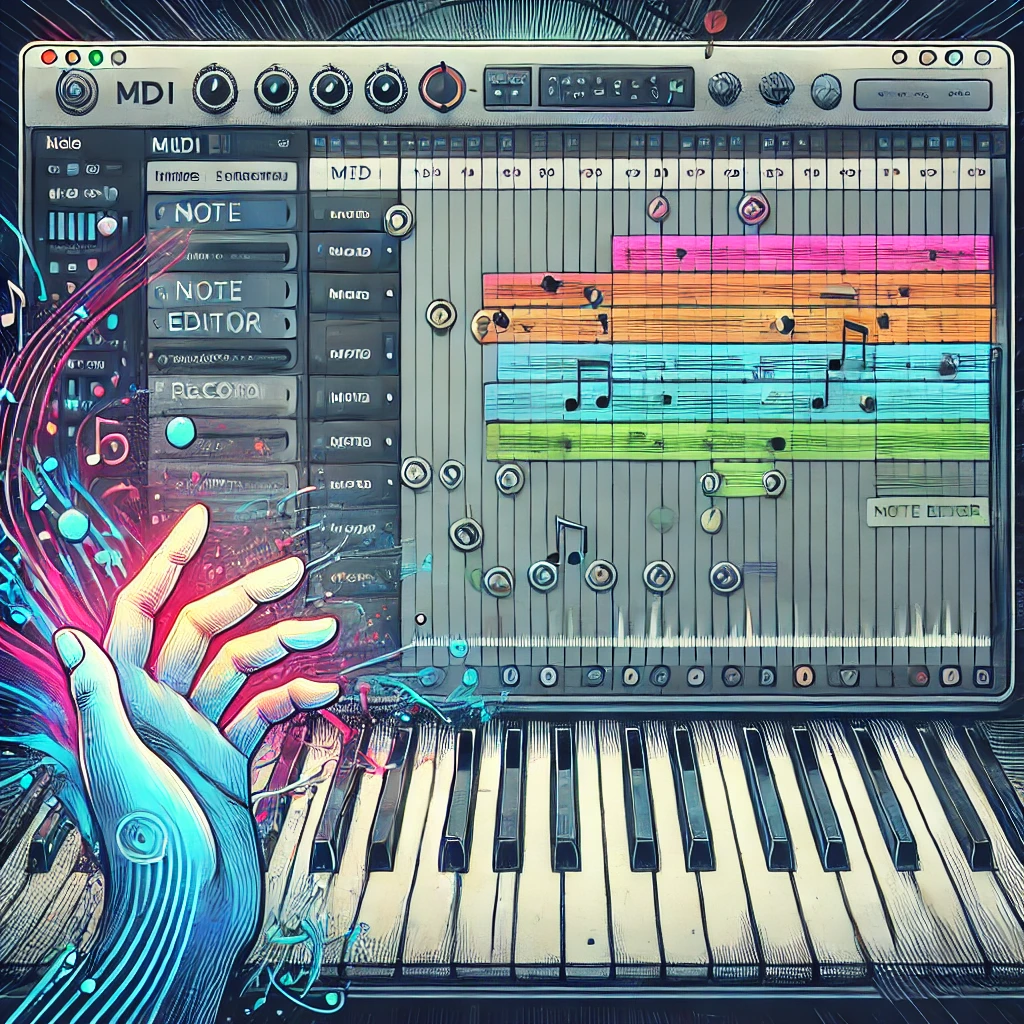
A MIDI sequencer is a device or software that records, edits, and plays back MIDI data. Think of it as a digital music sheet that can capture every note and expression you play on a MIDI instrument. Sequencers can be either hardware (like those built into some keyboards) or software that runs on a computer.
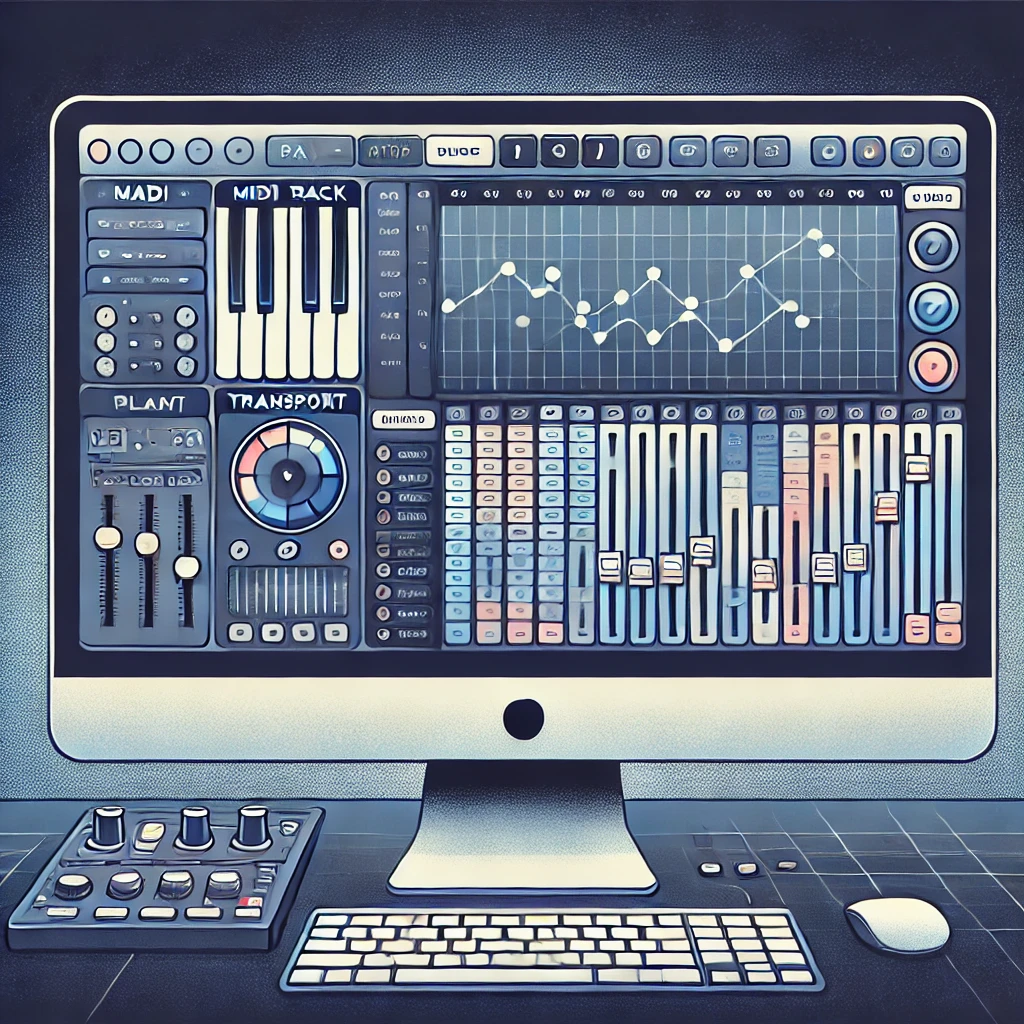
Software MIDI Sequencers
Software MIDI sequencers are applications you install on your computer. They offer a wide range of features and flexibility, making them popular among musicians and producers. Here are some key aspects of software MIDI sequencers:
- Recording: You can record MIDI data from your keyboard or other MIDI instruments directly into the sequencer. This captures the notes you play, along with velocity (how hard you hit the keys) and other performance nuances.
- Editing: Once recorded, MIDI data can be edited with precision. You can change notes, adjust timing, tweak velocities, and add or remove control changes. This level of detail allows you to perfect your performances and compositions.
- Playback: MIDI sequencers can play back your MIDI data through virtual instruments or external hardware. This lets you hear your compositions with different sounds and instruments.
- Arrangement: You can arrange your MIDI recordings into complete songs. Most sequencers support multiple tracks, so you can layer different instruments and parts to create complex arrangements.
- Integration: Software MIDI sequencers often integrate with digital audio workstations (DAWs), allowing you to combine MIDI sequencing with audio recording and production. This makes them powerful tools for music production.
Built-in Sequencers in Keyboards
Many modern keyboards come with built-in multi-track sequencers. These hardware sequencers offer similar functionalities to software sequencers, including recording, editing, and playback of MIDI data. While they might not offer the same depth of features as computer-based sequencers, they are convenient for live performances and on-the-go music creation. Here are a few advantages of built-in sequencers:
- Portability: You don’t need to carry a computer to use a built-in sequencer. Everything you need is within the keyboard, making it great for live performances and mobile music production.
- Ease of Use: Built-in sequencers are often designed to be user-friendly, allowing musicians to quickly record and arrange their music without needing to navigate complex software interfaces.
- Integration: Since the sequencer is part of the keyboard, integration with the instrument is seamless. You can easily access the sounds and features of the keyboard while using the sequencer.
 Why Use a MIDI Sequencer?
MIDI sequencers are invaluable for several reasons:
- Creativity: They allow for experimentation with different arrangements, sounds, and compositions.
- Precision: You can fine-tune every aspect of your performance, ensuring that your music sounds exactly how you want it.
- Efficiency: Sequencers make it easy to record and edit music, saving time compared to manual methods.
- Flexibility: With software sequencers, you can use a wide range of virtual instruments and plugins, expanding your sonic possibilities.
In conclusion, a MIDI sequencer is a powerful tool for any musician or producer. Whether you use software on a computer or the built-in sequencer in a keyboard, the ability to record, edit, and play back MIDI data opens up endless creative possibilities. Understanding and utilizing MIDI sequencers can significantly enhance your music-making process, allowing you to create more complex and polished compositions.
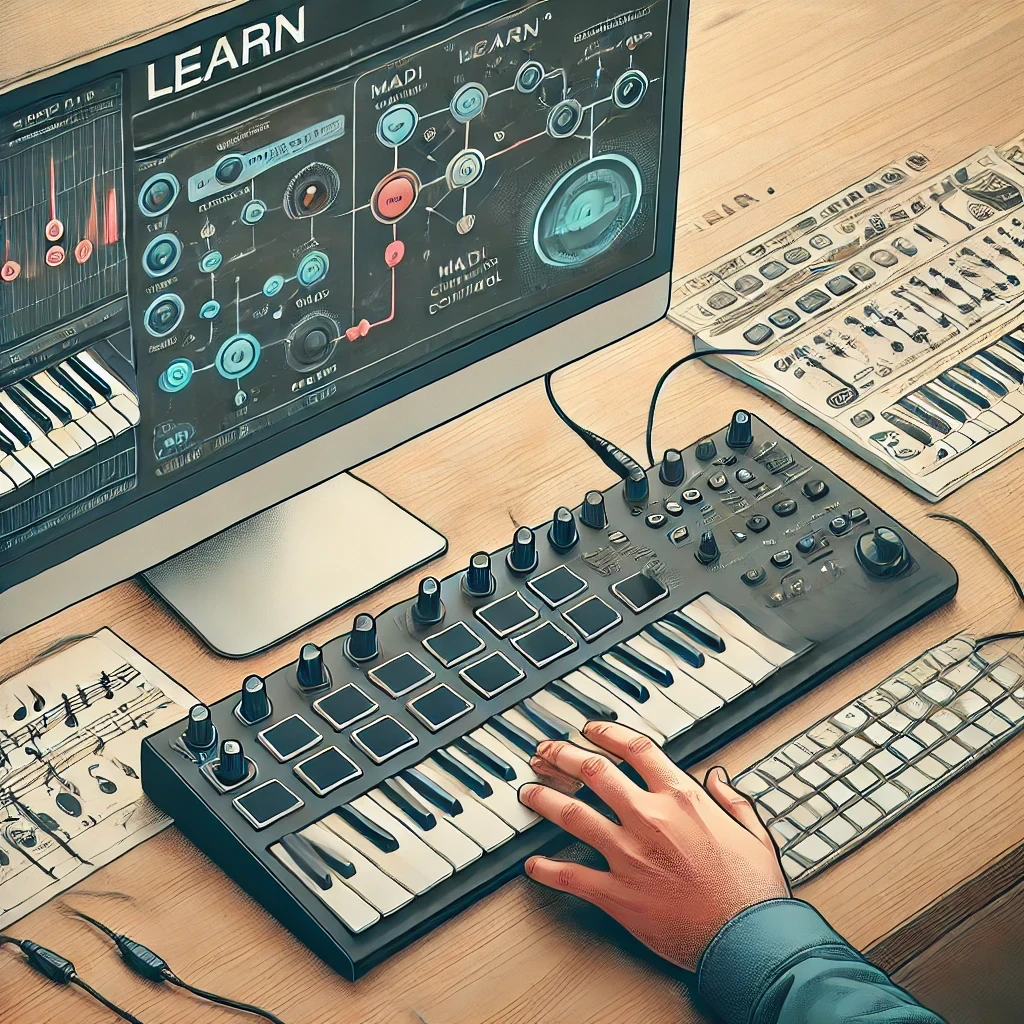
 Here’s a couple of cool videos if you’re interested in learning, or in some cases “reliving” many of the key events and technology that made MIDI a standard in the musical world.

