Posted on Leave a comment

When Will MIDI Die?

The Future of MIDI: Will It Ever End as a Musical Practice?

MIDI (Musical Instrument Digital Interface) has been a cornerstone of music production since its introduction in the early 1980s. It revolutionized the way musicians and producers create, arrange, and perform music. But with the rapid advancements in technology, one might wonder: will MIDI ever become obsolete? Let’s explore this intriguing question.

The Enduring Legacy of MIDI

**1. Historical Significance MIDI was developed to solve a critical problem in the music industry: the lack of standardization among electronic musical instruments. Before MIDI, synthesizers and other electronic instruments from different manufacturers couldn’t communicate with each other. MIDI provided a universal communication standard, allowing seamless integration of various devices1.

**2. Versatility and Flexibility MIDI’s ability to transmit data messages that specify musical information such as note pitch, duration, and velocity has made it incredibly versatile. It can control not only musical instruments but also lighting systems, stage effects, and more2. This versatility has kept MIDI relevant across various applications beyond just music production.

Technological Advancements

**1. Integration with Modern Technology MIDI has evolved to integrate with modern technology. The introduction of MIDI 2.0 has brought enhanced resolution, increased expressiveness, and bidirectional communication, making it more powerful than ever3. This evolution ensures that MIDI remains compatible with the latest digital audio workstations (DAWs) and virtual instruments.

**2. Emergence of New Protocols While new protocols and technologies continue to emerge, they often complement rather than replace MIDI. For instance, OSC (Open Sound Control) offers higher resolution and more flexibility but is often used alongside MIDI rather than as a replacement4.

The Role of MIDI in Modern Music Production

**1. Industry Standard MIDI has become an industry standard, deeply embedded in the workflows of musicians and producers worldwide. Its widespread adoption and compatibility with a vast array of hardware and software make it indispensable2.

**2. Educational Importance MIDI is also a fundamental part of music education. Learning MIDI is essential for aspiring music producers and sound engineers, ensuring that its legacy continues with future generations2.

Will MIDI Ever End?

Given its historical significance, versatility, and continuous evolution, it’s unlikely that MIDI will end as a musical practice anytime soon. While new technologies will continue to emerge, MIDI’s ability to adapt and integrate with these advancements ensures its ongoing relevance.

Conclusion

MIDI has stood the test of time, evolving with technological advancements and maintaining its position as a crucial tool in music production. While the future may bring new innovations, MIDI’s foundational role in the music industry suggests that it will remain a vital practice for years to come.

Posted on Leave a comment

Difference Between MIDI Module and A Software Synth

The difference between a MIDI module and a software synth lies in their physical form, functionality, and the way they integrate with other musical equipment and production environments. Both are used to generate sounds based on MIDI input, but they serve different roles in music production.

MIDI Module

What is a MIDI Module?

A MIDI module, also known as a sound module or tone generator, is a hardware device that generates sound in response to MIDI data. It doesn’t have a built-in keyboard, so it requires an external MIDI controller (such as a keyboard or computer) to trigger the sounds.

Key Features of MIDI Modules:

  • Hardware-Based: MIDI modules are physical devices that often come with various sound libraries, ranging from pianos and strings to synthesized sounds.
  • Standalone Operation: They can operate independently of a computer and are often used in live performances or studio setups where reliable, hardware-based sound generation is preferred.
  • Preset Sounds: Most MIDI modules come with preloaded sound banks, often based on the General MIDI (GM) standard, as well as additional proprietary sounds.
  • Connection: MIDI modules typically connect to other devices via MIDI cables, though many modern modules also support USB and other digital connections.
  • Dependability: As hardware devices, MIDI modules are often prized for their reliability and low latency, making them suitable for live performances where stability is critical.

Examples of MIDI Modules:

  • Roland JV-1080: A popular rack-mounted sound module with a wide range of sounds.
  • Yamaha Motif Rack: A module version of the Yamaha Motif synthesizer series.
  • Alesis NanoSynth: A compact module offering a variety of sounds.

Software Synth

What is a Software Synth?

A software synthesizer, or soft synth, is a virtual instrument that runs on a computer or mobile device. It generates sound digitally and is controlled via a MIDI controller or directly within a digital audio workstation (DAW).

Key Features of Software Synths:

  • Software-Based: Soft synths are programs or plugins that operate within a DAW or as standalone applications.
  • Flexibility and Customization: They often offer extensive sound design capabilities, allowing users to create, modify, and save custom sounds.
  • Vast Libraries: Software synths can access massive libraries of sounds and samples, often far exceeding the capabilities of hardware MIDI modules.
  • Integration with DAWs: Software synths integrate seamlessly with DAWs, allowing for easy automation, effects processing, and multi-track recording.
  • Portability: Since they are software, soft synths can be installed on laptops or other portable devices, making them highly convenient for on-the-go music production.
  • Cost-Effective: Often, soft synths are more affordable than hardware MIDI modules, especially considering the vast range of sounds and features they offer.

Examples of Software Synths:

  • Serum by Xfer Records: A popular wavetable synthesizer known for its high-quality sound and visual interface.
  • Native Instruments Massive: A software synth widely used for electronic music production.
  • Spectrasonics Omnisphere: A comprehensive soft synth with an extensive library and powerful sound design tools.

Key Differences

  1. Physical Form:
  • MIDI Module: A physical, standalone hardware device.
  • Software Synth: A virtual instrument that runs on a computer or mobile device.
  1. Sound Libraries:
  • MIDI Module: Typically comes with preset sound banks, often based on the GM standard and other proprietary sounds.
  • Software Synth: Offers vast and often expandable libraries, with more flexibility in sound design and customization.
  1. Integration:
  • MIDI Module: Connects to MIDI controllers or other instruments via physical MIDI connections.
  • Software Synth: Integrates directly with DAWs and other software, often controlled via USB MIDI controllers.
  1. Latency and Reliability:
  • MIDI Module: Known for low latency and high reliability, making them ideal for live performances.
  • Software Synth: Dependent on the computer’s processing power; latency can vary, and reliability may be affected by system stability.
  1. Portability:
  • MIDI Module: Portable but requires additional hardware (MIDI controller).
  • Software Synth: Extremely portable, as it can be installed on laptops or mobile devices.

Why Choose One Over the Other?

  • MIDI Module: Ideal if you need a reliable, low-latency solution for live performance or prefer hardware-based sound generation. They are also a good choice if you want to avoid relying on a computer for sound production.
  • Software Synth: Best suited for those who require flexibility, customization, and seamless integration with a DAW. Soft synths are ideal for studio work, sound design, and situations where a vast array of sounds and effects is needed.

Conclusion

Both MIDI modules and software synths have their own strengths and are suitable for different applications. MIDI modules are reliable, hardware-based solutions favored in live settings, while software synths offer greater flexibility and integration in digital music production environments. The choice between the two depends on your specific needs, whether you prioritize portability, sound customization, reliability, or the breadth of available sounds.

Posted on Leave a comment

How to Make General MIDI Sound Better

General MIDI (GM) is a standard protocol that allows electronic musical instruments and computers to communicate. While GM is great for ensuring compatibility across different devices, the quality of the sounds produced by many GM sound modules can be lackluster. If you want to enhance the sound quality of your General MIDI compositions, there are several strategies you can employ. Here’s how you can make your General MIDI sound better and improve the overall production value.

Understanding the Limitations

First, it’s important to understand why General MIDI might not sound as good as you’d like:

  • Basic Sound Samples: Many GM sound modules use basic and sometimes outdated sound samples that lack depth and realism.
  • Limited Expression: General MIDI can sometimes limit the expressiveness of the music, making it sound more mechanical.
  • Consistency Over Quality: GM was designed for compatibility, not necessarily for high-quality sound.

Strategies to Improve General MIDI Sound

  1. Upgrade Your Sound Module
    One of the most effective ways to improve your General MIDI sound is to use a higher-quality sound module or virtual instrument (VSTi). There are many software instruments available that provide high-quality samples and advanced synthesis options.

    High-Quality Soundfonts: Look for and use high-quality SoundFont libraries. SoundFonts are collections of sound samples that can replace the default GM sounds with better alternatives.
    Virtual Instruments: Invest in professional virtual instruments (VSTs) that offer superior sound quality and more control over the sound.

  2. Layering Sounds
    Layering sounds is a technique where you combine multiple sounds to create a richer, fuller result.

    Double Up: Use two or more instruments to play the same MIDI part. For example, layer a piano with a subtle pad to add warmth and depth.
    Use Different Octaves: Layer the same instrument in different octaves to create a fuller sound.

  3. Add Effects and Processing
    Applying effects can significantly enhance the sound of General MIDI instruments.

    Reverb and Delay: Adding reverb can make the sound more spacious and natural. Delay can add depth and interest.
    EQ and Compression: Use equalization (EQ) to fine-tune the frequency balance of your sounds. Compression can help control dynamics and add punch.
    Modulation Effects: Effects like chorus, flanger, and phaser can add richness and movement to your sounds.

  4. Use Automation
    Automation allows you to dynamically change parameters over time, adding expressiveness to your MIDI parts.

    Volume and Pan Automation: Vary the volume and stereo placement of your instruments to create a more dynamic mix.
    Effect Automation: Automate effects parameters, such as reverb amount or filter cutoff, to add movement and interest.

  5. Humanize Your MIDI
    General MIDI can sound robotic if every note is played with the same velocity and timing. Humanizing your MIDI can make it sound more natural.

    Velocity Variation: Vary the velocity of notes to mimic the natural dynamics of a live performance.
    Timing Adjustments: Slightly adjust the timing of notes to avoid a perfectly quantized (mechanical) feel.
    Randomization: Many DAWs have a humanize function that can automatically randomize velocities and timings within set parameters.

  6. Enhance with Live Instruments
    Where possible, blend in live recordings of instruments with your MIDI parts. This can add a layer of realism and warmth that purely digital sounds often lack.
    Live Overdubs: Record live instruments playing along with your MIDI tracks.
    Hybrid Approach: Use MIDI to control real hardware synthesizers or samplers and record the audio output.
  7. Mixing and Mastering
    A good mix and master can transform your MIDI tracks into polished, professional-sounding productions.
    Balance: Ensure that each instrument sits well in the mix and that no single part overpowers the others.
    Stereo Imaging: Use panning to place instruments in the stereo field, creating a sense of space.
    Final Touches: Apply mastering techniques to enhance the overall sound, including multi-band compression, limiting, and final EQ adjustments.

Improving the sound of General MIDI involves a combination of better sound sources, creative layering, effective use of effects, and careful mixing. By upgrading your sound module, humanizing your MIDI, and applying professional mixing techniques, you can significantly enhance the production value of your music. Remember, the goal is to make your music sound as expressive and dynamic as possible, bridging the gap between the limitations of General MIDI and the high-quality sound you desire.

Posted on Leave a comment

What is a MIDI Sequencer?

MIDI Sequencer

In the world of digital music production, a MIDI sequencer is an essential tool. It allows musicians and producers to create, edit, and play back music by managing MIDI data. This blog will focus on sequencer software for computers but will also touch on the fact that many keyboards come with built-in sequencers.

What is MIDI?

Before diving into MIDI sequencers, let’s briefly recap what MIDI is. MIDI, or Musical Instrument Digital Interface, is a protocol that allows electronic musical instruments, computers, and other devices to communicate. It sends instructions on how to play notes, rather than the audio itself. This makes MIDI a powerful tool for composing and arranging music.

What is a MIDI Sequencer?

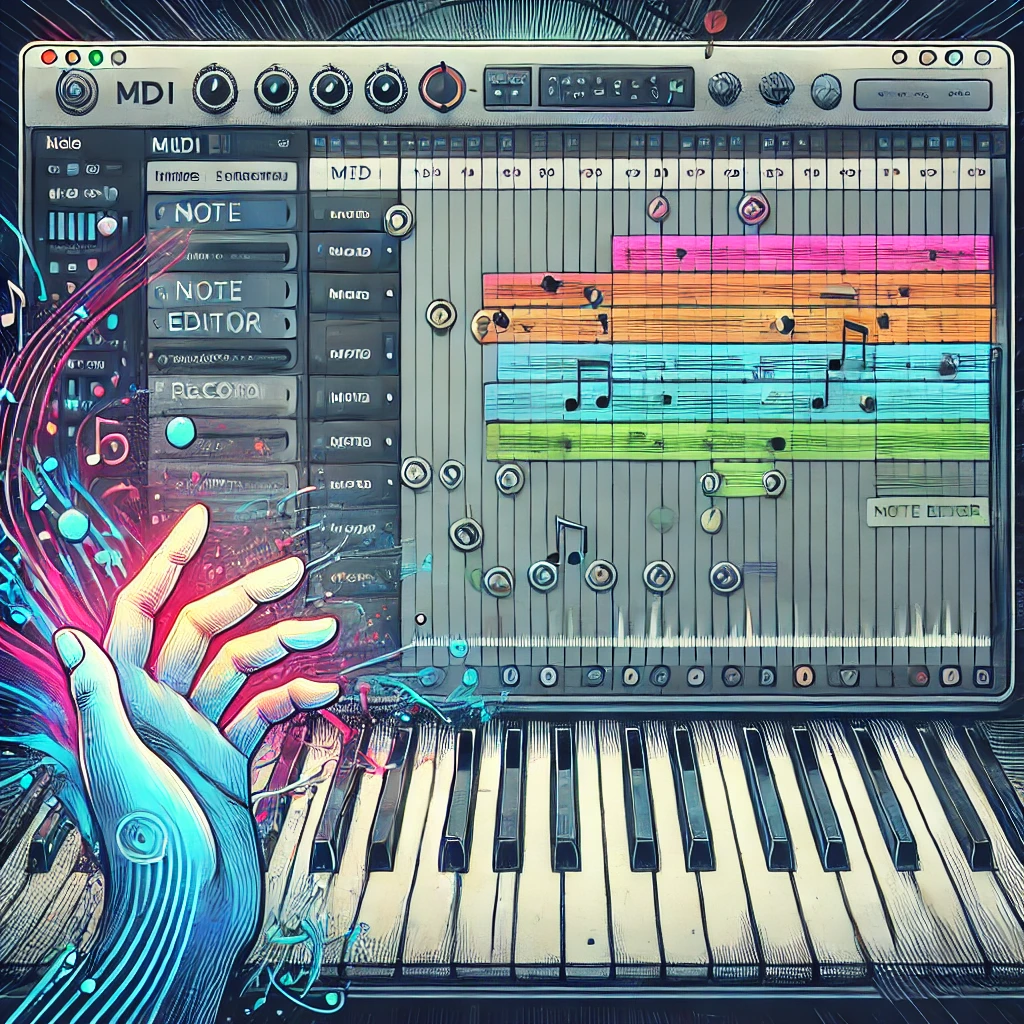
A MIDI sequencer is a device or software that records, edits, and plays back MIDI data. Think of it as a digital music sheet that can capture every note and expression you play on a MIDI instrument. Sequencers can be either hardware (like those built into some keyboards) or software that runs on a computer.

Software MIDI Sequencers

Software MIDI sequencers are applications you install on your computer. They offer a wide range of features and flexibility, making them popular among musicians and producers. Here are some key aspects of software MIDI sequencers:

  1. Recording: You can record MIDI data from your keyboard or other MIDI instruments directly into the sequencer. This captures the notes you play, along with velocity (how hard you hit the keys) and other performance nuances.
  2. Editing: Once recorded, MIDI data can be edited with precision. You can change notes, adjust timing, tweak velocities, and add or remove control changes. This level of detail allows you to perfect your performances and compositions.
  3. Playback: MIDI sequencers can play back your MIDI data through virtual instruments or external hardware. This lets you hear your compositions with different sounds and instruments.
  4. Arrangement: You can arrange your MIDI recordings into complete songs. Most sequencers support multiple tracks, so you can layer different instruments and parts to create complex arrangements.
  5. Integration: Software MIDI sequencers often integrate with digital audio workstations (DAWs), allowing you to combine MIDI sequencing with audio recording and production. This makes them powerful tools for music production.

Built-in Sequencers in Keyboards

Many modern keyboards come with built-in multi-track sequencers. These hardware sequencers offer similar functionalities to software sequencers, including recording, editing, and playback of MIDI data. While they might not offer the same depth of features as computer-based sequencers, they are convenient for live performances and on-the-go music creation. Here are a few advantages of built-in sequencers:

  1. Portability: You don’t need to carry a computer to use a built-in sequencer. Everything you need is within the keyboard, making it great for live performances and mobile music production.
  2. Ease of Use: Built-in sequencers are often designed to be user-friendly, allowing musicians to quickly record and arrange their music without needing to navigate complex software interfaces.
  3. Integration: Since the sequencer is part of the keyboard, integration with the instrument is seamless. You can easily access the sounds and features of the keyboard while using the sequencer.

MIDI SequencersWhy Use a MIDI Sequencer?

MIDI sequencers are invaluable for several reasons:

  • Creativity: They allow for experimentation with different arrangements, sounds, and compositions.
  • Precision: You can fine-tune every aspect of your performance, ensuring that your music sounds exactly how you want it.
  • Efficiency: Sequencers make it easy to record and edit music, saving time compared to manual methods.
  • Flexibility: With software sequencers, you can use a wide range of virtual instruments and plugins, expanding your sonic possibilities.

In conclusion, a MIDI sequencer is a powerful tool for any musician or producer. Whether you use software on a computer or the built-in sequencer in a keyboard, the ability to record, edit, and play back MIDI data opens up endless creative possibilities. Understanding and utilizing MIDI sequencers can significantly enhance your music-making process, allowing you to create more complex and polished compositions.

Posted on 2 Comments

MIDI Crossword Puzzle

MIDI Crossword Puzzle

Download Here:
(PDF) MIDI Crossword Puzzle Download

Here’s a challenge for all you MIDI fans out there.   Download this crossword puzzle and give it a shot.  If you are able to actually complete it, comment below and let me know that you did it.  I’ll be interested to see if you think it is difficult or easy. Certainly some of the clues are easier than others. But some are pretty hard.

If you guys like it, I’ll try to come up with more fun stuff like this in the future.

I’ll post the answer sheet once I’ve heard from some of you about it. Perhaps in a week or so. Or maybe sooner if there’s a demand for it.

So don’t wait! Comment below once you’ve tried it.

Happy Crosswording!

P.S. Go ahead and post this to your Facebook or Twitter.  Or email it to friends who might be interested.  Test their knowledge and see if they can finish it without your help.

Posted on 2 Comments

Can MIDI be used for education?

MIDI Education
MIDI Education

As we know MIDI can be used for fun and for composing music, but are there any educational benefits? Not surprisingly the answer is “yes”. MIDI is quickly being recognized as an excellent educational tool too.

There are two reasons why MIDI is a good educational tool. First, because the technology is becoming much more affordable, schools and institutions are able to afford the computers and MIDI instruments. Second, the power and flexibility of MIDI allows instructors and students to try new things easily.

Using MIDI to learn how to play a piece of music or an instrument.

Since each instrument in a MIDI performance is on a separate track from the rest, it is easy to listen to (or print out) just one individual instrument line and study it so that you can replicate and play that same part yourself. Plus if the piece of music is in the wrong key, it’s simple to transpose the part to the desired key and continue playing.

The educational value of isolating single voices in this manner is amazing. Imagine being able to select only the flute playing out of a complicated piece of music. Not only can you listen to that part individually, it’s very easy to print the isolated musical line onto paper in any key you desire. This is a wonderful tool for teachers as well as students.

Experimenting with various instruments.

The feature of being able to mute voices goes even further. Perhaps you are composing a new piece or experimenting with an existing piece but it just doesn’t sound right. With the power of MIDI you have the ability to change the sound of any instrument with ease and replay the piece.

Perhaps you recorded it with a flute but would like to know what an oboe would sound like. Easy. Simply use your MIDI editing software and select the voice that you wish to change. Once selected changing the instrument and save your work. Now when you replay the piece it will have the new instrument added so you can judge the effect.

Play with a band.

After practicing by yourself for a while it is always nice to try your skills playing with other instruments. Perhaps you wish to ensure that you can jam smoothly with others, that your playing of a piece is technically accurate, or just want to hear what the piece will sound like when played with a band.

The solution is easy. Select a MIDI file and mute the voice that you personally intend to play. Then replay the MIDI piece as you normally would – but instead, you play the part that’s missing. If you desire, you may be able to record yourself playing and compare it to the master recording and see how close you came to duplicating the part.


Record and edit your performance

A MIDI Sequencer is a great way to evaluate your own progress, or even to study how someone else plays. A person can record their efforts and email to transfer their file to you. Once you have their MIDI file you can play it back to find any problems and advise on how to correct them. This is great for music teachers.

If the piece is to be used as is, you can also edit out any imperfections! If you play a wrong note, you can just change it using your sequencer’s editing tools. And if you find you just can’t play fast enough to keep up with the tempo, you can slow it down for recording and speed it back up for playback.

Collaborative playing.

Like most musicians, you probably have a circle of friends that you used to jam with back in the day. Wouldn’t it be nice to get them all together again for old times sake? This may not be physically possible to do with people moving and such, but MIDI and the Internet provide a perfect solution

Perhaps you, as the lead player for the group, could lay down a single MIDI track. Then you email the piece to one of your friends and have them add their track to the file as they play along with you. Then they pass it along to another friend. Soon all of your friends will have added their parts to the piece and you will have a complete jam session recorded without ever having to travel.

As you have seen, and probably found out from experimenting yourself, MIDI is an excellent tool for both educational purposes and advancement of your talents. The possible uses for MIDI are only limited by your imagination.

Posted on Leave a comment

Using MIDI files with an external sound source

How to Connect MIDI Devices
Connect MIDI Devices

How to use these kinds of files in your keyboard and/or standalone midi sequencers.

What is a MIDI file?
MIDI is a means of communicating music information among synthesizers, keyboards, computers and other electronic sound equipment through digital messages. Unlike wave files, MIDI files do not contain any sound. Instead they contain commands that tell the receiving unit exactly what note to play, what sound it should be played with, how loud it is, and how long to hold the note on.

What this means is that when you get a MIDI file, you are getting a file that contains what the composer did on his keyboard. The file is fairly small because it contains no actual sounds or voice information. To play back this file you need either a keyboard with both a MIDI interface and a floppy drive or a computer with MIDI capable sound card.

Playing back a MIDI file.
Playing back a MIDI file is fairly simple to do. In most cases it is a matter of putting a disk that contains a MIDI file into the floppy drive of your keyboard, selecting the file to be played and playing it. Since MIDI is such a common standard, it truly is this easy.

Playing MIDI files is extremely simple, but getting the most out of the play back can take a little more work. Consider, for example, playing your MIDI file back on a PC with a standard sound card. You will quickly find that the sounds coming from your computer may be a little flat or lifeless compared when the same piece is played on a keyboard.

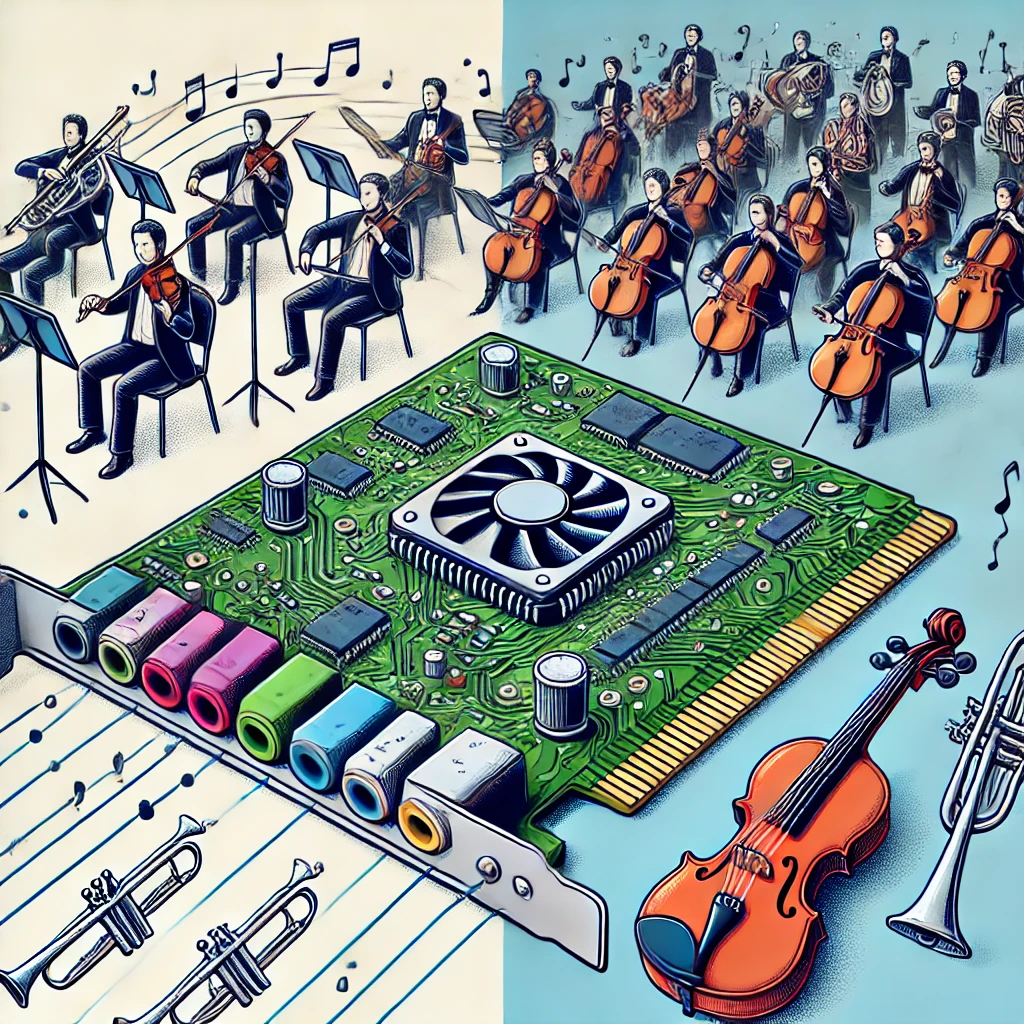
The reason for this is found in how sound cards work. Sound cards have a wave table IC that contains the sampled sound of many instruments. Due to the expense and work involved in sampling these sounds few standard sound cards contain sampled sounds that are even close to the quality found in most keyboards or sound modules.

A keyboard has been designed to reproduce high quality sounds. A sound card has been designed to produce sound, not necessarily “high quality”. So what can you do about this? The answer is simple, connect the MIDI output of your sound card, to the MIDI input on your keyboard, and set your computer to play the MIDI file out to the keyboard. Now when you play back the same musical piece, the keyboard will play it with its full sound compliment instead of using your low quality sound card sounds.

Also worth noting… there are available now, high quality sound cards with “synth” engines built into them. These cards are typically much more expensive than your average generic sound card though. Consult your local music store for more information about this.

How do I connect MIDI devices?
Connecting MIDI devices is a fairly simple task. The standard cable for MIDI is a 5-pin cable with a small round connector. This cable carries the digital commands from one unit to another.

To connect the MIDI devices start with the master unit. All MIDI units will have jacks labeled as IN, OUT and most have a THROUGH. Take a suitably sized MIDI cable and go from the OUT of the main unit to the IN on the slave unit. Then take a second MIDI cable and go from the IN of the first unit to the OUT on the slave unit. (Note: the Out from one unit cannot connect to the OUT of the other. This will not work. An OUT must always connect to an IN).

Now that the digital command links have been established you can begin to establish the audio connections. Start with the slave device and run a patch cable from the audio out to the audio input on your mixer or amp.

These simple connections are all that are required. Now you can use the main unit to cause any of the other unit(s) to play music as you see fit. Remember the shorter the cable run the better the signal quality will be. And it is not recommend to run more than 4 or 5 units in a MIDI chain as the signal can become weak and unstable.

Further details.
The exact details for playing back MIDI files on your keyboard, sequencer or drum machine will vary with different models. While the basic steps are usually the same, the best source of instruction is yours owners manual.

If your instrument has a disk drive, normally you would start by saving a MIDI file on a standard DOS formatted disk. After the file is saved, you insert the disk into the floppy drive on your digital instrument. Use the built in floppy drive controls to select the MIDI file on the disk and then select play.

Playing back a MIDI file on your PC may be slightly more complicated but still is very simple. The first step is to ensure that the MIDI drivers for your sound card or MIDI ports are installed and enabled. The information that came with your sound card will tell you how to this properly.

On a PC it is very common to use some sort of music editing software to play back or modify a MIDI file. Follow the manufacturer’s directions to install your music editing software and ensure that it works with your sound card.

Once the software and hardware are ready you can begin having fun. Insert the disk with the MIDI file into your PC’s floppy drive and open the file with your music editing software. The software will allow you to play or change the file as needed.

As you can see, thanks to industry standards, using MIDI files is fairly simple to do. You will be amazed with the possibilities that are opened up once you begin working with MIDI files.