 Free MIDI Files Collection
Download all of these free files, all at once. Click Here…
Free Samples
 Free MIDI Files Collection
Download all of these free files, all at once. Click Here…
Free Samples

A MIDI (Musical Instrument Digital Interface) cable is a key component in electronic music, allowing different devices to communicate. Let’s take a closer look at the pins of a MIDI cable and their specific functions.
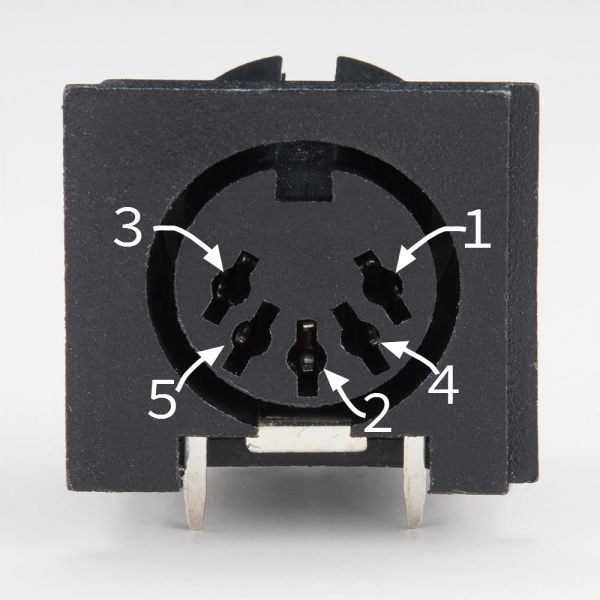
A standard MIDI cable has five pins arranged in a semicircle. Each pin has a distinct role:
Note that the pins on the connector are numbered out of order — it’s as if two more pins were added between the pins of a 3-pin connector. To help keep it straight, the numbers are frequently embossed in the plastic of the connector.
A MIDI cable is connected as follows:
MIDI Cable Wiring First Connector Cable Second Connector Pin 1 No Connection Pin 1 Pin 2 Shield Pin 2 Pin 3 No Connection Pin 3 Pin 4 Voltage Reference Line Pin 4 Pin 5 Data Line Pin 5 The spec defines a maximum cable length of 50 feet (15 meters).
Information above taken from this MIDI Tutorial: https://learn.sparkfun.com/tutorials/midi-tutorial/all
The combination of pins 4 and 5 allows for the transmission of MIDI data between devices, enabling the flow of information such as note on/off, pitch, and control changes.
Understanding these pin functions is essential for troubleshooting and ensuring proper connections between your MIDI devices. Proper grounding (pins 1 and 2) helps prevent noise and interference, while the data pins (pins 4 and 5) are crucial for accurate communication.
In summary, knowing what each pin of a MIDI cable does can help you set up and maintain your electronic music equipment effectively. Whether you’re connecting keyboards, synthesizers, or other MIDI-compatible devices, this knowledge ensures smooth and reliable performance.

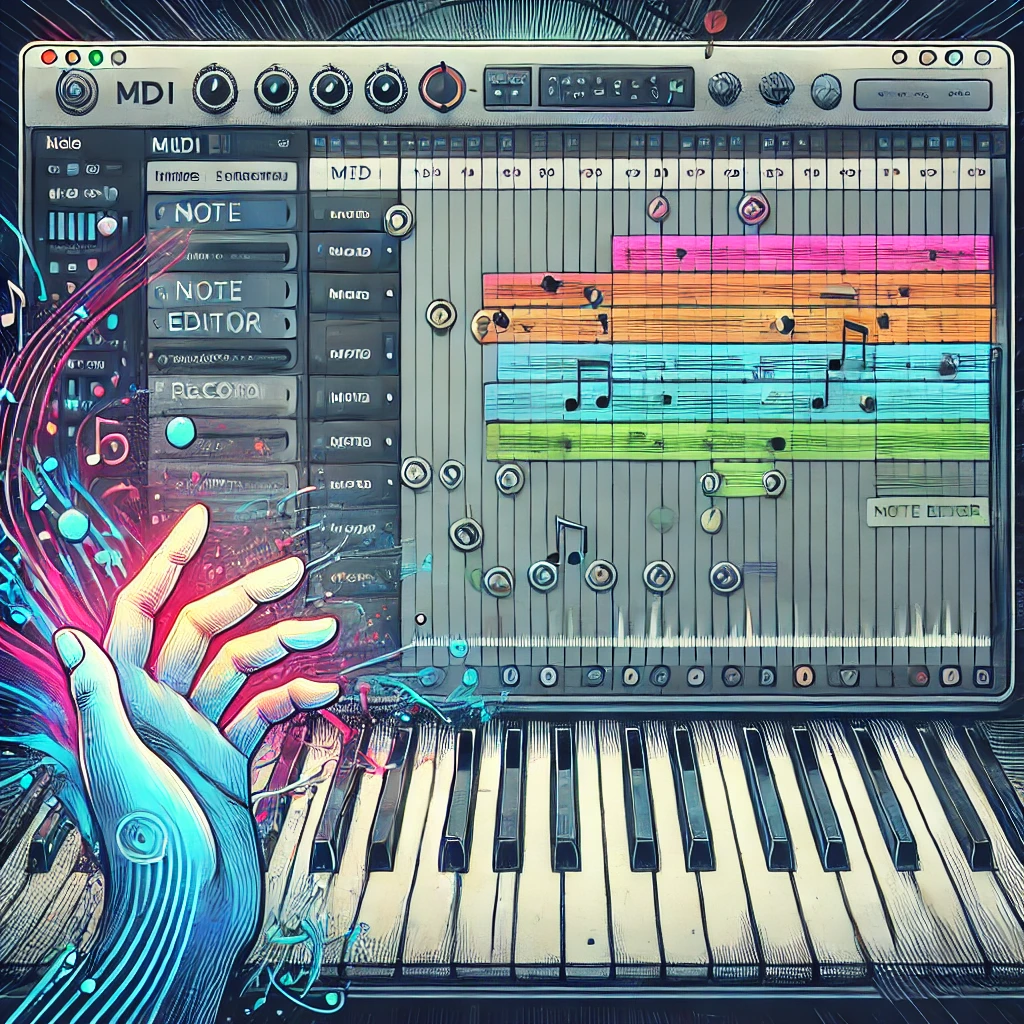
In the world of digital music production, a MIDI sequencer is an essential tool. It allows musicians and producers to create, edit, and play back music by managing MIDI data. This blog will focus on sequencer software for computers but will also touch on the fact that many keyboards come with built-in sequencers.
Before diving into MIDI sequencers, let’s briefly recap what MIDI is. MIDI, or Musical Instrument Digital Interface, is a protocol that allows electronic musical instruments, computers, and other devices to communicate. It sends instructions on how to play notes, rather than the audio itself. This makes MIDI a powerful tool for composing and arranging music.
A MIDI sequencer is a device or software that records, edits, and plays back MIDI data. Think of it as a digital music sheet that can capture every note and expression you play on a MIDI instrument. Sequencers can be either hardware (like those built into some keyboards) or software that runs on a computer.
Software MIDI sequencers are applications you install on your computer. They offer a wide range of features and flexibility, making them popular among musicians and producers. Here are some key aspects of software MIDI sequencers:
Many modern keyboards come with built-in multi-track sequencers. These hardware sequencers offer similar functionalities to software sequencers, including recording, editing, and playback of MIDI data. While they might not offer the same depth of features as computer-based sequencers, they are convenient for live performances and on-the-go music creation. Here are a few advantages of built-in sequencers:
 Why Use a MIDI Sequencer?
MIDI sequencers are invaluable for several reasons:
In conclusion, a MIDI sequencer is a powerful tool for any musician or producer. Whether you use software on a computer or the built-in sequencer in a keyboard, the ability to record, edit, and play back MIDI data opens up endless creative possibilities. Understanding and utilizing MIDI sequencers can significantly enhance your music-making process, allowing you to create more complex and polished compositions.

When it comes to electronic music, MIDI (Musical Instrument Digital Interface) is a game-changer. One of its powerful features is the ability to send program changes. This means you can switch instruments or sounds on your MIDI device with just a simple command. Let’s dive into how this works and why getting your MIDI connections right is crucial.
Program changes are MIDI messages that tell your electronic instrument to switch to a different preset sound or instrument. For example, you could switch from a piano sound to a guitar sound on your synthesizer without physically touching the instrument. This is incredibly useful during live performances or when recording in a studio, as it allows for smooth transitions between different sounds.
Before you can send program changes, you need to ensure your MIDI devices are connected correctly. MIDI devices typically have MIDI In, MIDI Out, and sometimes MIDI Thru ports. Here’s a simple way to understand them:
It’s essential to connect the MIDI Out of your controller (like a keyboard) to the MIDI In of your sound module or synthesizer. If these connections are incorrect, your devices won’t communicate, and no program changes will happen.
Once your devices are connected, sending a program change is straightforward. Most MIDI controllers have buttons or dials that can send program change messages. Many devices manage and send program change MIDI messages automatically in the background, when you select the desired sound.
For example, if you want to switch to a piano sound, you might select program number 1. If you want a guitar sound, you might choose program number 25. The specific numbers can vary based on the General MIDI standard or the specific setup of your device.
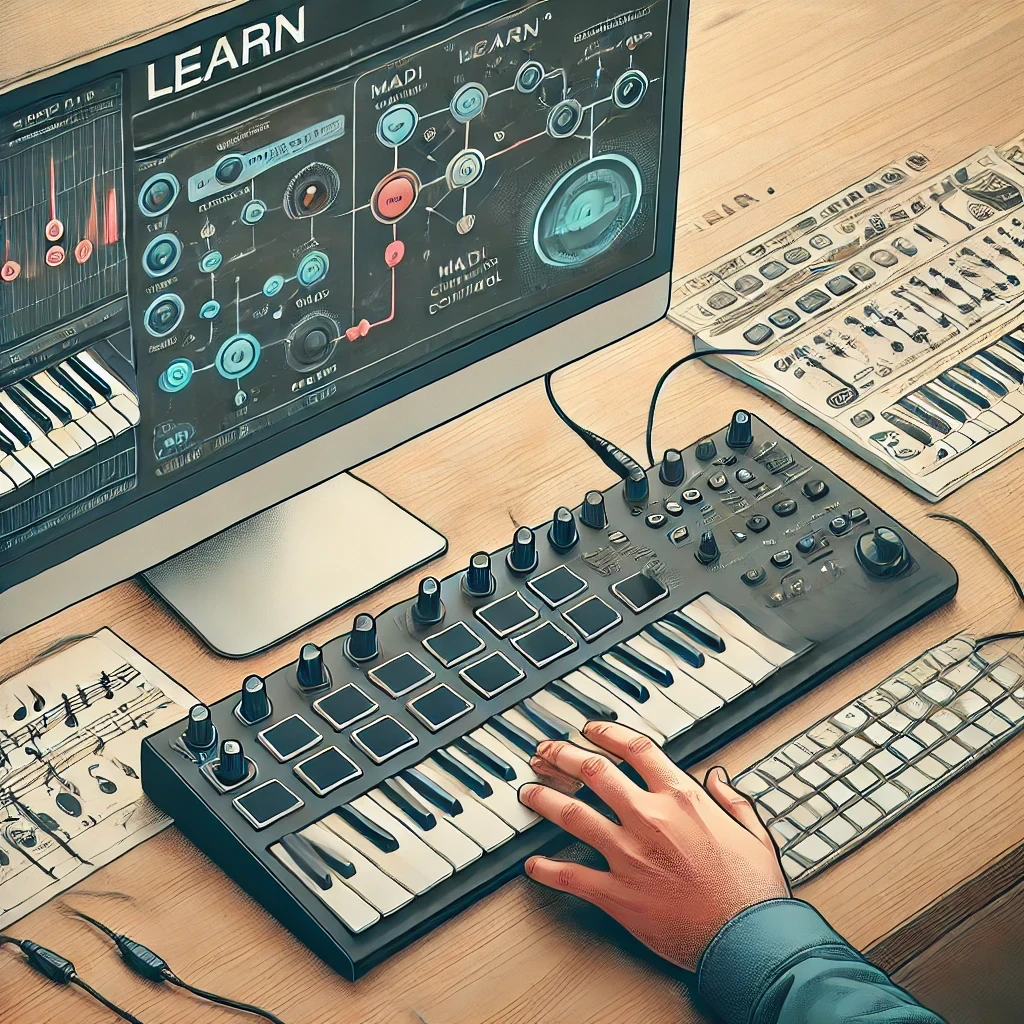
Many modern MIDI software and keyboards come with a “learn” function. This feature makes mapping MIDI controls to specific software parameters incredibly easy. Here’s how it works:
This process ensures that your MIDI controller and software are perfectly in sync, making it easier to control your music.
Getting your MIDI connections right and understanding how to send program changes can significantly enhance your music-making process. It ensures that your instruments respond correctly to your commands, whether you’re performing live or working in a studio. Additionally, using the learn function simplifies the setup process and makes it easier to customize your controls.
In summary, sending program changes with MIDI opens up a world of possibilities for musicians. By connecting your devices correctly and utilizing features like the learn function, you can streamline your workflow and focus more on creating great music. Whether you’re a beginner or an experienced musician, mastering these MIDI basics is essential for taking your music to the next level.

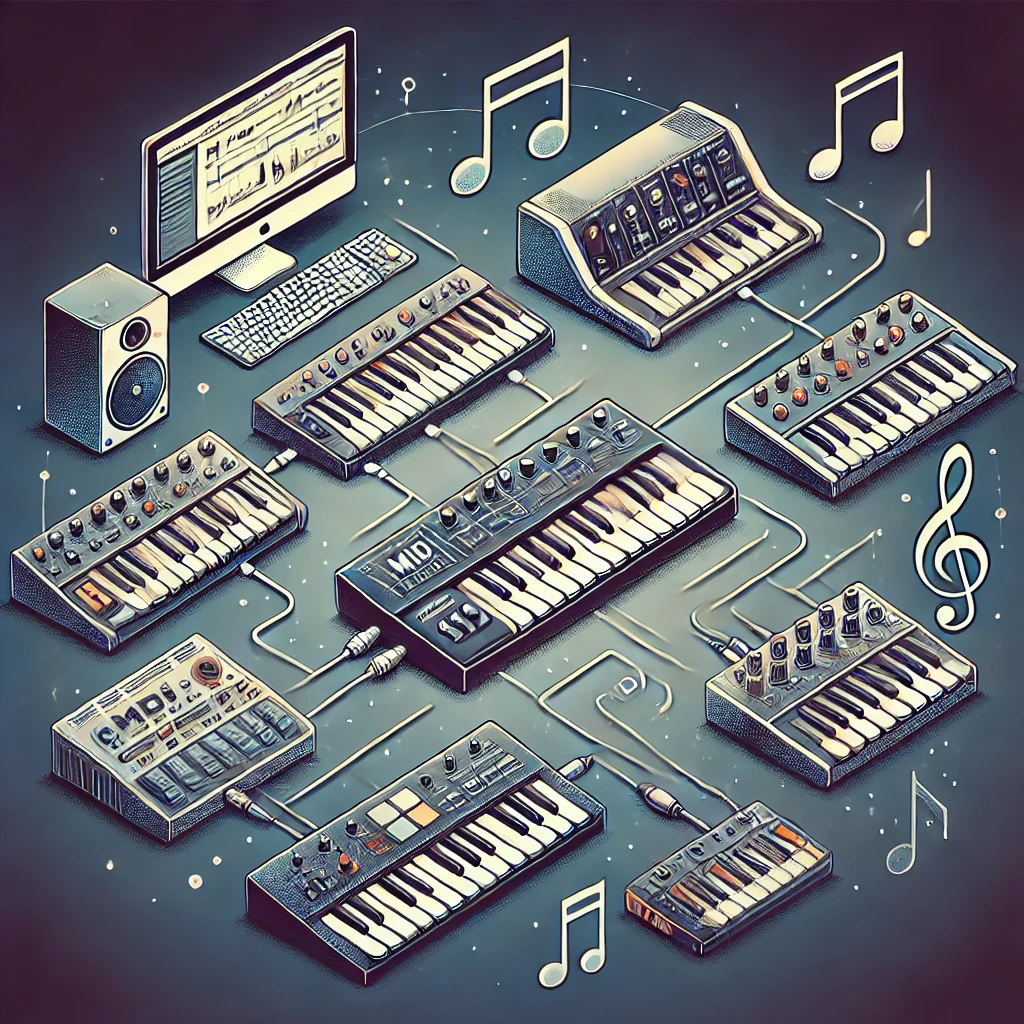
Imagine being able to connect different musical instruments, like keyboards, synthesizers, and computers, so they can all talk to each other. That’s exactly what MIDI, which stands for Musical Instrument Digital Interface, does. It’s like a common language that these devices use to communicate. But today, let’s talk about a specific part of this language called General MIDI.
Before we dive into General MIDI, let’s quickly understand MIDI. MIDI is a system that sends instructions to electronic instruments. For example, when you press a key on a MIDI keyboard, it doesn’t actually make a sound. Instead, it sends a message to another device, like a computer or a synthesizer, telling it which note to play, how long to play it, and how loud it should be.
General MIDI (often abbreviated as GM) is a standard that makes MIDI even more useful and consistent. It was introduced in 1991 to ensure that MIDI instruments and software can work together smoothly. GM does this by setting specific rules for how musical instruments should behave and sound.
General MIDI makes it easy to create, share, and play music across different devices without worrying about compatibility issues. If you compose a song on a GM keyboard and save it as a MIDI file, you can share that file with someone else who has a GM-compatible device, and it will sound almost the same. This standardization has made MIDI incredibly popular in the music industry, from professional studios to home setups.
– Learning and Practicing: Many music teachers use GM keyboards to teach students. Students can practice at home on their own GM keyboards, and the sounds will be the same as in their lessons.
– Gaming and Software: Video game composers often use GM because it ensures the music will sound right on any system that supports it.
– Home Recording: Hobbyist musicians use GM in their home studios to create music that sounds professional and can be easily shared with others.
In conclusion, General MIDI is like a universal translator for electronic musical instruments. It ensures that no matter what device you use, the music will sound
 Three audio loop conversions using the “Rock42 MIDI file” as the source MIDI.
Here are some examples of how converting MIDI Drum files into audio loops might sound. The MP3s below were all created from the same MIDI file, using different drum kits as their sound sources. This demonstrates the extreme flexibility of MIDI as a musical tool.
Rock-42 can be purchased in either one of these collections:


Browse and download more Free MIDI files here.
1. Rock-42 MIDI File using HipHop Drum Kit (110BPM)
2. Rock-42 MIDI File using a House Drum Kit (120BPM)
3. Rock-42 MIDI File using Techno Drum Kit (100BPM)
 Three audio samples using the “Rock3 MIDI file” as the source.
Rock-3 can be found in either one of these collections:


Browse and download more Free MIDI files here.
All 3 samples are at 120bpm
1. Rock-3 MIDI File with a RnB Drum Kit as the sound source
2. Rock-3 MIDI File with a Tight Drum Kit as the sound source
3. Rock-3 MIDI File with a Rockmaster Drum Kit as the sound source