Posted on Leave a comment

How Do I Convert My MIDI Sequence to Audio?

MIDI (Musical Instrument Digital Interface) is an essential tool in modern music production, allowing musicians to create, edit, and play complex compositions. However, since MIDI files only contain performance data (such as which notes to play and how), they don’t produce actual sound on their own. To share or finalize your music, you often need to convert MIDI sequences into audio files like WAV or MP3. Here’s how to do it.


Why Convert MIDI to Audio?

Converting MIDI to audio is useful for several reasons:

  1. Playback Compatibility: MIDI files require a compatible instrument or software to generate sound, while audio files can be played on any device.
  2. Preserving Sound: Audio files capture the exact sound as it’s produced, including effects and instrument choices, ensuring consistent playback.
  3. Sharing and Distribution: Audio files are universally accessible, making them ideal for sharing your music on streaming platforms or social media.

Methods to Convert MIDI to Audio

There are multiple ways to convert MIDI sequences into audio files, depending on your setup and tools. Below are some common methods.

1. Using a Digital Audio Workstation (DAW)

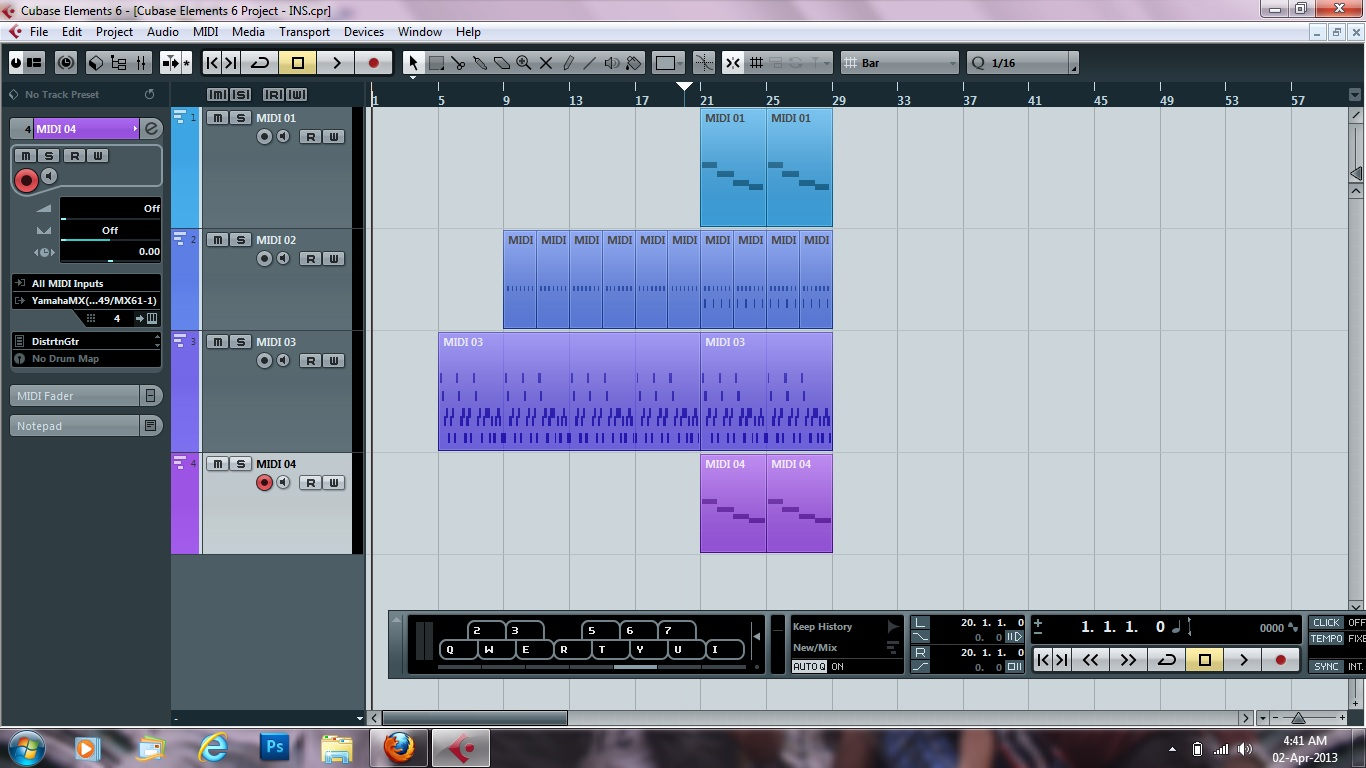
Most DAWs allow you to export MIDI tracks as audio files. Here’s a general process:

Step 1: Load Your MIDI File

  • Open your DAW and import the MIDI file.
  • Assign virtual instruments to each MIDI track to generate sound.

Step 2: Add Effects and Adjustments

  • Customize the sound by adding effects like reverb, delay, or EQ.
  • Adjust volume and panning to balance your mix.

Step 3: Export as Audio

  • In your DAW’s export menu, choose your preferred audio format (e.g., WAV, MP3).
  • Render the MIDI performance as an audio file.

Popular DAWs:

  • Ableton Live
  • FL Studio
  • Logic Pro
  • GarageBand
  • Cubase

2. Using a Virtual Instrument or Synthesizer

If you’re using a standalone virtual instrument or synthesizer:

Step 1: Load the MIDI Sequence

  • Import your MIDI file into the software.

Step 2: Adjust Settings

  • Choose your desired instrument sound and apply effects if available.

Step 3: Record the Output

  • Use the software’s export function to save the audio, or record the output in a DAW.

3. Using MIDI to Audio Conversion Software

Some dedicated tools and online converters are designed for this purpose:

  • MIDI to WAV Converter: A lightweight program for direct conversion.
  • Online MIDI Converters: Websites that convert MIDI files to audio formats using built-in sound engines.

How It Works:

  • Upload your MIDI file.
  • Select your desired audio format.
  • Download the converted audio file.

4. Recording External MIDI Instruments

If you’re using a hardware MIDI instrument (e.g., a synthesizer or drum machine):

Step 1: Connect the Instrument

  • Use audio cables to connect your instrument’s output to your computer’s audio interface.

Step 2: Play the MIDI Sequence

  • Send the MIDI data from your DAW to the external instrument.
  • The instrument will generate sound based on the MIDI sequence.

Step 3: Record the Audio

  • Record the instrument’s audio output in your DAW or using an external recorder.
  • Save the recorded file as an audio format.

Tips for Better Results

  • Choose High-Quality Virtual Instruments: The quality of the final audio depends heavily on the instruments used. Use high-quality virtual instruments or sound libraries for the best results.
  • Optimize Your Mix: Before exporting, ensure that your mix is well-balanced. Adjust levels, add effects, and refine dynamics to achieve a professional sound.
  • Export in High Resolution: If possible, export your audio files in lossless formats (e.g., WAV or FLAC) for the highest quality. You can always convert these files to compressed formats like MP3 later if needed.

Conclusion

Converting MIDI sequences to audio files is an essential step in producing and sharing your music. Whether you’re working in a DAW, using standalone software, or recording hardware instruments, the process is straightforward and ensures your compositions sound their best on any platform. By following the steps outlined above, you’ll be able to turn your MIDI creations into polished audio tracks ready for release.

Posted on Leave a comment

Difference Between MIDI Module and A Software Synth

The difference between a MIDI module and a software synth lies in their physical form, functionality, and the way they integrate with other musical equipment and production environments. Both are used to generate sounds based on MIDI input, but they serve different roles in music production.

MIDI Module

What is a MIDI Module?

A MIDI module, also known as a sound module or tone generator, is a hardware device that generates sound in response to MIDI data. It doesn’t have a built-in keyboard, so it requires an external MIDI controller (such as a keyboard or computer) to trigger the sounds.

Key Features of MIDI Modules:

  • Hardware-Based: MIDI modules are physical devices that often come with various sound libraries, ranging from pianos and strings to synthesized sounds.
  • Standalone Operation: They can operate independently of a computer and are often used in live performances or studio setups where reliable, hardware-based sound generation is preferred.
  • Preset Sounds: Most MIDI modules come with preloaded sound banks, often based on the General MIDI (GM) standard, as well as additional proprietary sounds.
  • Connection: MIDI modules typically connect to other devices via MIDI cables, though many modern modules also support USB and other digital connections.
  • Dependability: As hardware devices, MIDI modules are often prized for their reliability and low latency, making them suitable for live performances where stability is critical.

Examples of MIDI Modules:

  • Roland JV-1080: A popular rack-mounted sound module with a wide range of sounds.
  • Yamaha Motif Rack: A module version of the Yamaha Motif synthesizer series.
  • Alesis NanoSynth: A compact module offering a variety of sounds.

Software Synth

What is a Software Synth?

A software synthesizer, or soft synth, is a virtual instrument that runs on a computer or mobile device. It generates sound digitally and is controlled via a MIDI controller or directly within a digital audio workstation (DAW).

Key Features of Software Synths:

  • Software-Based: Soft synths are programs or plugins that operate within a DAW or as standalone applications.
  • Flexibility and Customization: They often offer extensive sound design capabilities, allowing users to create, modify, and save custom sounds.
  • Vast Libraries: Software synths can access massive libraries of sounds and samples, often far exceeding the capabilities of hardware MIDI modules.
  • Integration with DAWs: Software synths integrate seamlessly with DAWs, allowing for easy automation, effects processing, and multi-track recording.
  • Portability: Since they are software, soft synths can be installed on laptops or other portable devices, making them highly convenient for on-the-go music production.
  • Cost-Effective: Often, soft synths are more affordable than hardware MIDI modules, especially considering the vast range of sounds and features they offer.

Examples of Software Synths:

  • Serum by Xfer Records: A popular wavetable synthesizer known for its high-quality sound and visual interface.
  • Native Instruments Massive: A software synth widely used for electronic music production.
  • Spectrasonics Omnisphere: A comprehensive soft synth with an extensive library and powerful sound design tools.

Key Differences

  1. Physical Form:
  • MIDI Module: A physical, standalone hardware device.
  • Software Synth: A virtual instrument that runs on a computer or mobile device.
  1. Sound Libraries:
  • MIDI Module: Typically comes with preset sound banks, often based on the GM standard and other proprietary sounds.
  • Software Synth: Offers vast and often expandable libraries, with more flexibility in sound design and customization.
  1. Integration:
  • MIDI Module: Connects to MIDI controllers or other instruments via physical MIDI connections.
  • Software Synth: Integrates directly with DAWs and other software, often controlled via USB MIDI controllers.
  1. Latency and Reliability:
  • MIDI Module: Known for low latency and high reliability, making them ideal for live performances.
  • Software Synth: Dependent on the computer’s processing power; latency can vary, and reliability may be affected by system stability.
  1. Portability:
  • MIDI Module: Portable but requires additional hardware (MIDI controller).
  • Software Synth: Extremely portable, as it can be installed on laptops or mobile devices.

Why Choose One Over the Other?

  • MIDI Module: Ideal if you need a reliable, low-latency solution for live performance or prefer hardware-based sound generation. They are also a good choice if you want to avoid relying on a computer for sound production.
  • Software Synth: Best suited for those who require flexibility, customization, and seamless integration with a DAW. Soft synths are ideal for studio work, sound design, and situations where a vast array of sounds and effects is needed.

Conclusion

Both MIDI modules and software synths have their own strengths and are suitable for different applications. MIDI modules are reliable, hardware-based solutions favored in live settings, while software synths offer greater flexibility and integration in digital music production environments. The choice between the two depends on your specific needs, whether you prioritize portability, sound customization, reliability, or the breadth of available sounds.

Posted on Leave a comment

Rock42 – Audio Loops

Rock 42 MIDI and Audio LoopsThree audio loop conversions using the “Rock42 MIDI file” as the source MIDI.

Here are some examples of how converting MIDI Drum files into audio loops might sound. The MP3s below were all created from the same MIDI file, using different drum kits as their sound sources. This demonstrates the extreme flexibility of MIDI as a musical tool.

Rock-42 can be purchased in either one of these collections:
Rock MIDI Drum Beats Master Collection - MIDI Tracks

Browse and download more Free MIDI files here.

1. Rock-42 MIDI File using HipHop Drum Kit (110BPM)


2. Rock-42 MIDI File using a House Drum Kit (120BPM)

3. Rock-42 MIDI File using Techno Drum Kit (100BPM)

Download Rock-42 Source MIDI File

Posted on 2 Comments

How to convert YouTube videos to MP3 audio

It has come to my attention that many people out there are looking for instructions on how to convert YouTube Videos easily into MP3 files for your MP3 player.  I know this isn’t directly related to the MIDI topic, but it is one step further in my quest to find the perfect YouTube to MIDI converter.

So I looked at a bunch of different options.  Only two stood out to me as being good enough to mention. If you have any other suggestions, please mention them in the comments below. I would be very interested to hear your thoughts.

The runner up (not my first choice) would be the web site: www.video2mp3.netThe Good: It’s very easy to use. Just copy the URL link from the desired YouTube video and paste it into the form field on the Video2MP3 website, then hit “convert”. The Bad: There are some annoying Ad screens to wade through and the first time I tried it I got several pop-up spam screens (never good). The second attempt however, was pop-up free. They have two quality settings, normal and high. If you choose the high quality option you may need to stand in line. They have a Que system and it could take a while to get to you.  However, if you need an MP3 made from a YouTube video and won’t be doing this type of conversion very often, this is a solid option.

YouTube MP3 ConvertNext, and a better solution for me, is the FireFox plugin.  (found here) . The Good: You simply find the YouTube video you want to download as MP3 and click the “Download as MP3” button. Extremely easy.  THE BAD: It only works in FireFox, And you have to install 3 plugins before you can use it. The plugins are…

  1. Grease Monkey Plugin: Download Here
  2. Grease Fire Plugin: Download Here (optional but recommended)
  3. YouTube to MP3 Plugin: Download Here

However, if you have access to FireFox…  it is so easy. Plus, if you do use FireFox on any regular basis, you’re going to want the GreaseMonkey and GreaseFire plugins anyway. They are incredible enhancements to the overall browsing experience.

So, using the information I just gave you, within just a few minutes you too can have MP3 versions of your favorite YouTube clips.

Have another MP3 from YouTube conversion tip? Let us know in the comments below.