Posted on Leave a comment

Why Are MIDI Files So Small?

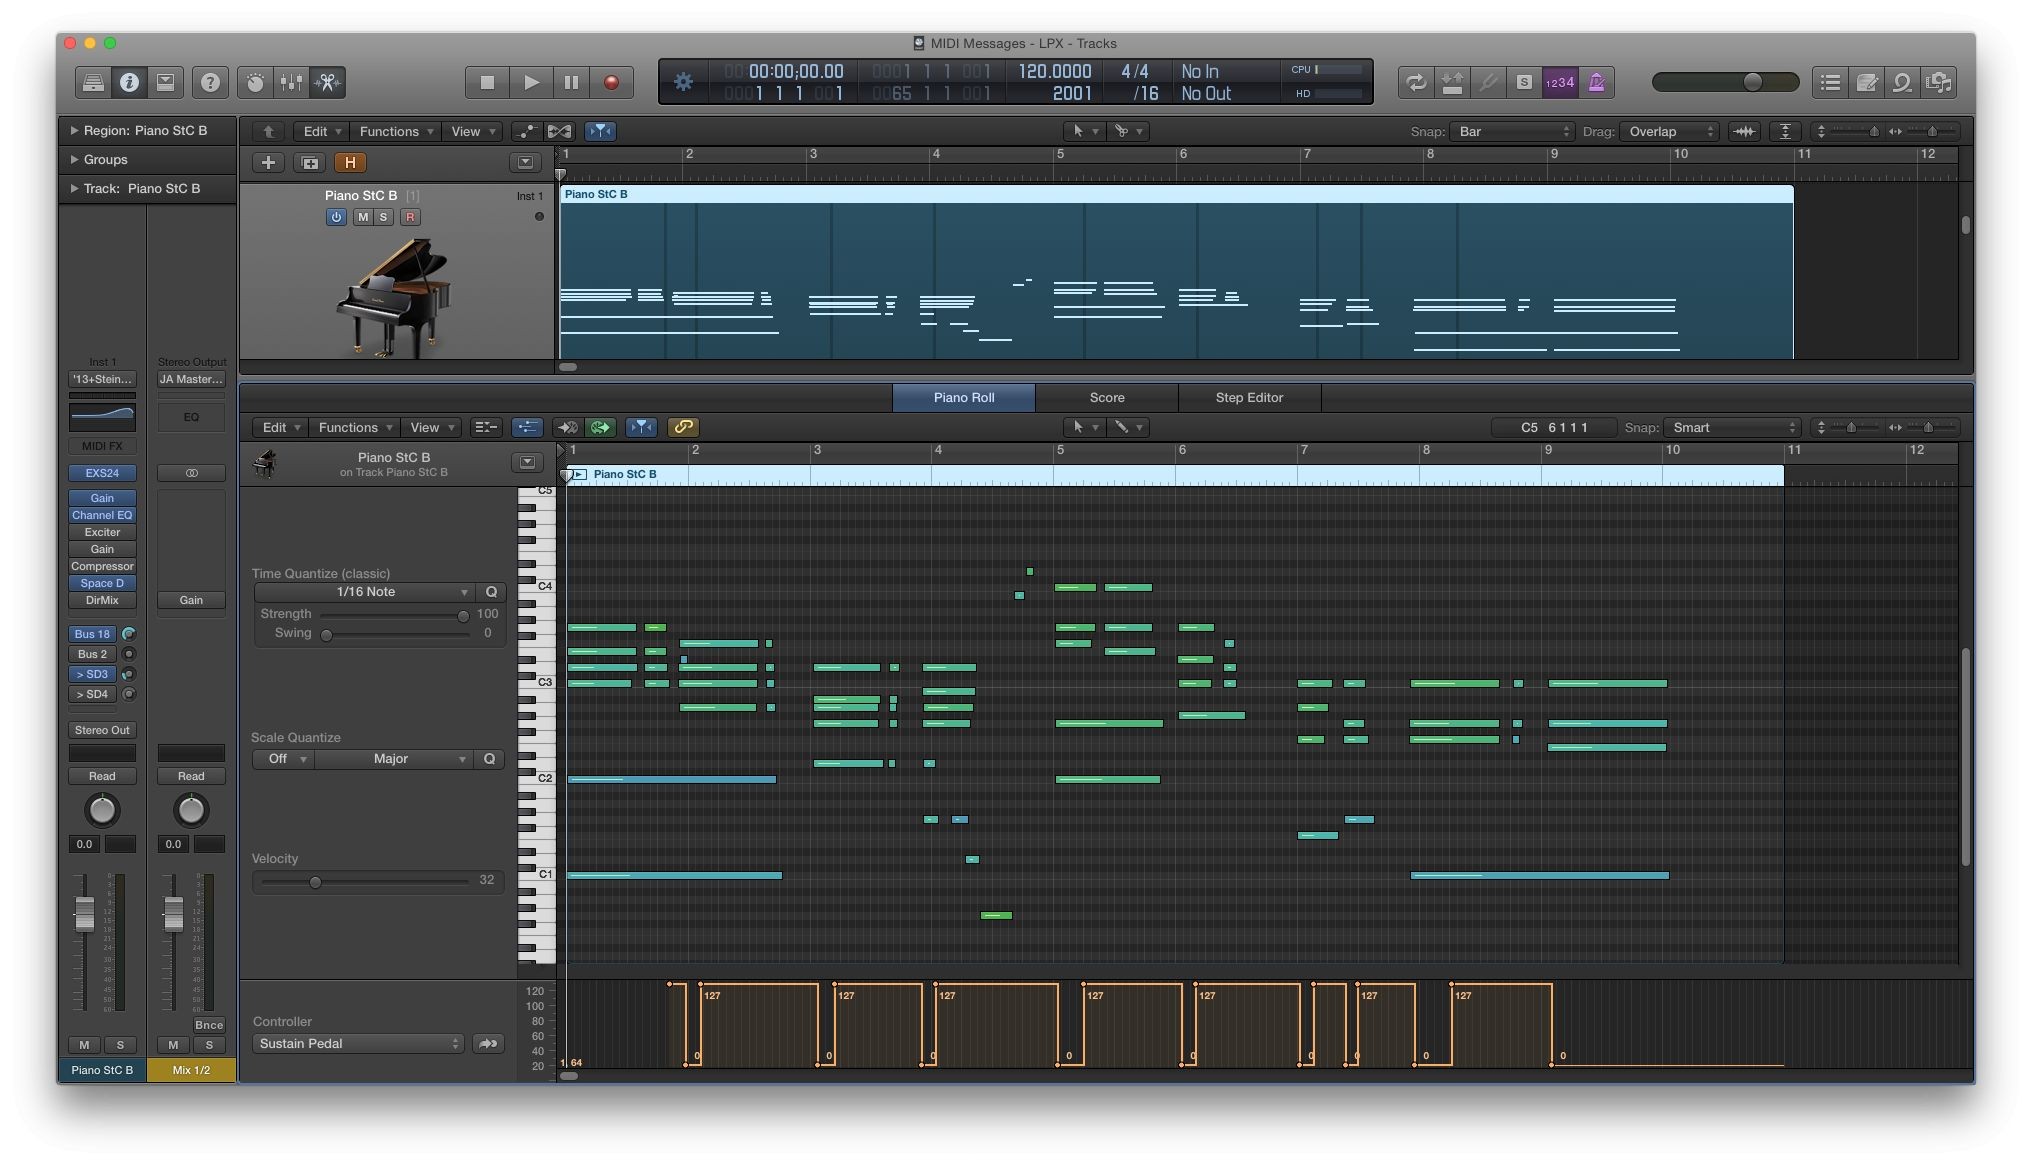
MIDI files are small because they contain instructions rather than actual audio data. Unlike audio files, which store detailed sound wave information, MIDI files store a series of commands that tell a synthesizer or computer how to generate sounds. Here’s a closer look at why MIDI files are so compact:

1. Data Type

  • MIDI Files Contain Instructions: MIDI stands for Musical Instrument Digital Interface. MIDI files contain instructions like which notes to play, how long to play them, how loud they should be, and which instrument should be used. These instructions are encoded as simple, compact data.
  • No Audio Data: MIDI files do not store audio waveforms. Instead, they store numerical representations of musical events (e.g., “play note C4 with a velocity of 90”). This is fundamentally different from audio files, which store the actual sound waves as large sets of data points.

2. Efficiency

  • Event-Based System: MIDI is an event-based system where each event (such as a note being played or a control change) is represented by a few bytes of data. For example, a “Note On” message requires only 3 bytes: one for the command itself (which note), and two for the note and velocity.
  • Minimal Data Required: Because each MIDI event requires so little data, even a complex piece of music with multiple instruments and extensive control changes can be represented with just a few kilobytes.

3. Channel and Track Organization

  • Use of MIDI Channels: MIDI files organize data into channels, where each channel can control a different instrument. Multiple channels can be managed within a single track, and all this information is packed efficiently into the file.
  • Track Information: In MIDI Type 1 files, the data is organized into multiple tracks, but these tracks only contain the essential commands, which take up minimal space.

4. Absence of Audio Recording

  • No Sound Recording: MIDI files do not record or store sound. They do not capture audio from a microphone or any other source. This dramatically reduces the file size compared to audio files like WAV or MP3, which store detailed information about the sound waves.

5. Repeatable Instructions

  • Repetitive Commands: Many MIDI sequences involve repeated instructions, such as the same note or control change being triggered multiple times. MIDI efficiently encodes these repetitive elements without requiring additional storage for each instance.

6. Text-Based Information

  • Inclusion of Lyrics or Meta-Events: Even when MIDI files include lyrics or other meta-events (like tempo changes), this data is still text-based and occupies very little space compared to the audio data.

Example of File Size Differences:

  • MIDI File: A typical MIDI file for a song might be as small as 5–50 KB.
  • Audio File: An equivalent audio file (e.g., WAV or MP3) of the same song could range from 5–50 MB, depending on the format and quality.

Summary:

MIDI files are small because they don’t store actual audio but rather the instructions needed to generate the audio. This event-based system, combined with the efficient encoding of musical commands, makes MIDI files extremely compact. The small file size is one of the reasons why MIDI is still widely used in music production, especially in scenarios where flexibility and ease of manipulation are important.

Posted on Leave a comment

Difference Between MIDI Module and A Software Synth

The difference between a MIDI module and a software synth lies in their physical form, functionality, and the way they integrate with other musical equipment and production environments. Both are used to generate sounds based on MIDI input, but they serve different roles in music production.

MIDI Module

What is a MIDI Module?

A MIDI module, also known as a sound module or tone generator, is a hardware device that generates sound in response to MIDI data. It doesn’t have a built-in keyboard, so it requires an external MIDI controller (such as a keyboard or computer) to trigger the sounds.

Key Features of MIDI Modules:

  • Hardware-Based: MIDI modules are physical devices that often come with various sound libraries, ranging from pianos and strings to synthesized sounds.
  • Standalone Operation: They can operate independently of a computer and are often used in live performances or studio setups where reliable, hardware-based sound generation is preferred.
  • Preset Sounds: Most MIDI modules come with preloaded sound banks, often based on the General MIDI (GM) standard, as well as additional proprietary sounds.
  • Connection: MIDI modules typically connect to other devices via MIDI cables, though many modern modules also support USB and other digital connections.
  • Dependability: As hardware devices, MIDI modules are often prized for their reliability and low latency, making them suitable for live performances where stability is critical.

Examples of MIDI Modules:

  • Roland JV-1080: A popular rack-mounted sound module with a wide range of sounds.
  • Yamaha Motif Rack: A module version of the Yamaha Motif synthesizer series.
  • Alesis NanoSynth: A compact module offering a variety of sounds.

Software Synth

What is a Software Synth?

A software synthesizer, or soft synth, is a virtual instrument that runs on a computer or mobile device. It generates sound digitally and is controlled via a MIDI controller or directly within a digital audio workstation (DAW).

Key Features of Software Synths:

  • Software-Based: Soft synths are programs or plugins that operate within a DAW or as standalone applications.
  • Flexibility and Customization: They often offer extensive sound design capabilities, allowing users to create, modify, and save custom sounds.
  • Vast Libraries: Software synths can access massive libraries of sounds and samples, often far exceeding the capabilities of hardware MIDI modules.
  • Integration with DAWs: Software synths integrate seamlessly with DAWs, allowing for easy automation, effects processing, and multi-track recording.
  • Portability: Since they are software, soft synths can be installed on laptops or other portable devices, making them highly convenient for on-the-go music production.
  • Cost-Effective: Often, soft synths are more affordable than hardware MIDI modules, especially considering the vast range of sounds and features they offer.

Examples of Software Synths:

  • Serum by Xfer Records: A popular wavetable synthesizer known for its high-quality sound and visual interface.
  • Native Instruments Massive: A software synth widely used for electronic music production.
  • Spectrasonics Omnisphere: A comprehensive soft synth with an extensive library and powerful sound design tools.

Key Differences

  1. Physical Form:
  • MIDI Module: A physical, standalone hardware device.
  • Software Synth: A virtual instrument that runs on a computer or mobile device.
  1. Sound Libraries:
  • MIDI Module: Typically comes with preset sound banks, often based on the GM standard and other proprietary sounds.
  • Software Synth: Offers vast and often expandable libraries, with more flexibility in sound design and customization.
  1. Integration:
  • MIDI Module: Connects to MIDI controllers or other instruments via physical MIDI connections.
  • Software Synth: Integrates directly with DAWs and other software, often controlled via USB MIDI controllers.
  1. Latency and Reliability:
  • MIDI Module: Known for low latency and high reliability, making them ideal for live performances.
  • Software Synth: Dependent on the computer’s processing power; latency can vary, and reliability may be affected by system stability.
  1. Portability:
  • MIDI Module: Portable but requires additional hardware (MIDI controller).
  • Software Synth: Extremely portable, as it can be installed on laptops or mobile devices.

Why Choose One Over the Other?

  • MIDI Module: Ideal if you need a reliable, low-latency solution for live performance or prefer hardware-based sound generation. They are also a good choice if you want to avoid relying on a computer for sound production.
  • Software Synth: Best suited for those who require flexibility, customization, and seamless integration with a DAW. Soft synths are ideal for studio work, sound design, and situations where a vast array of sounds and effects is needed.

Conclusion

Both MIDI modules and software synths have their own strengths and are suitable for different applications. MIDI modules are reliable, hardware-based solutions favored in live settings, while software synths offer greater flexibility and integration in digital music production environments. The choice between the two depends on your specific needs, whether you prioritize portability, sound customization, reliability, or the breadth of available sounds.

Posted on Leave a comment

How to Make General MIDI Sound Better

General MIDI (GM) is a standard protocol that allows electronic musical instruments and computers to communicate. While GM is great for ensuring compatibility across different devices, the quality of the sounds produced by many GM sound modules can be lackluster. If you want to enhance the sound quality of your General MIDI compositions, there are several strategies you can employ. Here’s how you can make your General MIDI sound better and improve the overall production value.

Understanding the Limitations

First, it’s important to understand why General MIDI might not sound as good as you’d like:

  • Basic Sound Samples: Many GM sound modules use basic and sometimes outdated sound samples that lack depth and realism.
  • Limited Expression: General MIDI can sometimes limit the expressiveness of the music, making it sound more mechanical.
  • Consistency Over Quality: GM was designed for compatibility, not necessarily for high-quality sound.

Strategies to Improve General MIDI Sound

  1. Upgrade Your Sound Module
    One of the most effective ways to improve your General MIDI sound is to use a higher-quality sound module or virtual instrument (VSTi). There are many software instruments available that provide high-quality samples and advanced synthesis options.

    High-Quality Soundfonts: Look for and use high-quality SoundFont libraries. SoundFonts are collections of sound samples that can replace the default GM sounds with better alternatives.
    Virtual Instruments: Invest in professional virtual instruments (VSTs) that offer superior sound quality and more control over the sound.

  2. Layering Sounds
    Layering sounds is a technique where you combine multiple sounds to create a richer, fuller result.

    Double Up: Use two or more instruments to play the same MIDI part. For example, layer a piano with a subtle pad to add warmth and depth.
    Use Different Octaves: Layer the same instrument in different octaves to create a fuller sound.

  3. Add Effects and Processing
    Applying effects can significantly enhance the sound of General MIDI instruments.

    Reverb and Delay: Adding reverb can make the sound more spacious and natural. Delay can add depth and interest.
    EQ and Compression: Use equalization (EQ) to fine-tune the frequency balance of your sounds. Compression can help control dynamics and add punch.
    Modulation Effects: Effects like chorus, flanger, and phaser can add richness and movement to your sounds.

  4. Use Automation
    Automation allows you to dynamically change parameters over time, adding expressiveness to your MIDI parts.

    Volume and Pan Automation: Vary the volume and stereo placement of your instruments to create a more dynamic mix.
    Effect Automation: Automate effects parameters, such as reverb amount or filter cutoff, to add movement and interest.

  5. Humanize Your MIDI
    General MIDI can sound robotic if every note is played with the same velocity and timing. Humanizing your MIDI can make it sound more natural.

    Velocity Variation: Vary the velocity of notes to mimic the natural dynamics of a live performance.
    Timing Adjustments: Slightly adjust the timing of notes to avoid a perfectly quantized (mechanical) feel.
    Randomization: Many DAWs have a humanize function that can automatically randomize velocities and timings within set parameters.

  6. Enhance with Live Instruments
    Where possible, blend in live recordings of instruments with your MIDI parts. This can add a layer of realism and warmth that purely digital sounds often lack.
    Live Overdubs: Record live instruments playing along with your MIDI tracks.
    Hybrid Approach: Use MIDI to control real hardware synthesizers or samplers and record the audio output.
  7. Mixing and Mastering
    A good mix and master can transform your MIDI tracks into polished, professional-sounding productions.
    Balance: Ensure that each instrument sits well in the mix and that no single part overpowers the others.
    Stereo Imaging: Use panning to place instruments in the stereo field, creating a sense of space.
    Final Touches: Apply mastering techniques to enhance the overall sound, including multi-band compression, limiting, and final EQ adjustments.

Improving the sound of General MIDI involves a combination of better sound sources, creative layering, effective use of effects, and careful mixing. By upgrading your sound module, humanizing your MIDI, and applying professional mixing techniques, you can significantly enhance the production value of your music. Remember, the goal is to make your music sound as expressive and dynamic as possible, bridging the gap between the limitations of General MIDI and the high-quality sound you desire.

Posted on Leave a comment

Download Classical MIDI Files – Then Create Something Awesome!

Free Classical MIDI FilesI would just love to see some creative people mix a few of these classical MIDI files with our drum tracks to come up with some great sounding music.

It wouldn’t be too hard. I mean, you could start with drums, throw in parts of a few classical masterpieces, add a little strings, or sound effects, or pads, or whatever, then a few synth parts and some delay/reverb/EQ. The possibilities are endless and the results could be amazing.

So, if you are in a dry creative spot, looking for a fun new project to start (a challenge),  why not give it a shot? Then once you have something cool, post a link to your music for everybody to hear.

Be an inspiration to the people around you.  And what better way to do that than with some classical elements.

MIDI File Download Links:

Can’t wait to see what you come up with!


Posted on Leave a comment

MIDI Polyphony and Multi-timbrality

Korg Oasys
Korg Oasys

What is Polyphony?

Polyphony is simply the number of notes that a keyboard or device can be playing at any one time. So, for example, if you press two keys at the same time, you’re using 2 notes of polyphony. Simple, right? Well… not exactly.

Another way to use two notes of polyphony would be to hold the sustain pedal and hit the same note twice in a row.

Additionally, playing a note in a “Combi” mode (where sounds are layered or stacked on each other to make rich tones) allows you to use up many polyphony notes with every single key press.

Polyphony is also used when running a sequencer or record function, playing a keyboard’s on-board drums, using the song or style arranger, etc.

So, you can see it is important to understand the ramification and how polyphony fits into your playing style and available equipment.

What is Multi-timbrality?

Being “multi-timbral” can be related to polyphony, but is actually the ability to play multiple types of sounds at the same time.  So, you want to play a bass line with the left hand and piano with the right? You’ll need multi-tembral capabilities in your keyboard.

Many times the different sounds are separated onto different MIDI channels and can be manipulated on a channel by channel basis. But often, as seen in many lower prices models, the keyboards are not multi-timbral and can only play one sound type at a time.

Obviously the more use you make of your keyboard’s multi-tembral features, the more available polyphony you will need.

Why should I care?

Polyphony is very important. The last thing you want to do is to get home with your wonderful new keyboard or sound module, start playing and discover it can only play 16 notes at a time. 16 note polyphony.  If you find that to be the case, you might as well throw your sustain pedal out the window. You won’t be using it.

It’s like this… you have 10 fingers. if each finger plays two notes (in a run or in repetitive strokes) and your polyphony is 16 notes, you’re 4 notes over the limit right away. The keyboard will start to shut off previous notes to compensate for the new ones.  Although sometimes it’s okay, this usually sounds bad and ruins your musical experience.

Some lower end keyboards can be in the 8 to 30 polyphony range (or less). Most higher end keyboards these days come in 64 to 128 note polyphony. This is pretty good for playing individual instruments that aren’t layered and many pad/synth or multi-layered sounds.  But if you’re going to be doing any major composing or orchestrating, you may likely need even more.

What can I do about it?

If you are stuck with a keyboard or sound module that has a low limit for polyphony or you find you are pushing the limits of what it can output, there are couple things you can do.

1. Get another sound unit. Purchase an additional sound module or keyboard and connect them using MIDI. This will double (or more) the polyphony available to you. Plus, it’s always fun to get new gear.

2. See if your sound module is expandable. Often you can buy cartridges or expansion chips that will increase the functionality of your existing device.

3. If you’re making complex arrangements and running out of notes, you may need to record some of your tracks into a computer, converting the notes into audio waveforms. This will allow you to shut those notes off in your arrangement and free up some polyphony.

If anyone has any suggestions, or more Polyphony tips, please comment below.


Posted on 5 Comments

What is quantization?

imageFor musicians who work in recording or producing realm, quantization is an issue that comes up frequently. As for me, I deal with it on some level in almost every recording project I create.

So what is quantization anyway? Well, the long answer is “It depends on who you ask”.

  • An online dictionary will tell you:
    The process of converting, or digitizing, the almost infinitely variable amplitude of an analog waveform to one of a finite series of discrete levels.
  • Audio-technicians might tell you:
    Quantization is the process of converting a continuous analog audio signal to a digital signal with discrete numerical values. Example: In a compact disc, an analog recording is converted to a digital signal sampled at 44,100Hz and quantized with 16-bits of data per sample.
  • A physicist will tell you:
    To apply quantum mechanics or the quantum theory to something.

However, for a recording artist or musician, the meaning of quantization is a little bit different. I define it as: “Making music mathematically perfect.”

In other words, when a person plays a keyboard, drums, bass, sax, etc. into a recording device, the recorded performance usually lacks precision in timing to some degree. Although it may sound good, each note is likely not placed exactly in the correct spot in time. To record something with absolute mathematical precision would be nearly impossible for any human.

quantize

Enter Computers. So to compensate for the lack of timing precision, computers can come along behind us and make sure all of our timing is adjusted, lined up, and perfect. This is the act of quantizing.

Quantizing is done very easily when working with MIDI note data. Since MIDI notes each have a definite start and end time, all the computer has to do is recalculate the note data so that each note starts at the correct time and presto, you have perfect timing.

However, the process is not so straight forward when working with non-MIDI audio (voice, guitar, etc). When there is not a precise start time to the note, it is more difficult for quantizing software to know where to put each note in time. Waveform quantizing software has to basically guess where the individual notes are. As technology gets better, these programs are getting more and more accurate, but there is still some element of guesswork when trying to quantize waveforms.


The Quantizing Challenge

Nearly every recording software available today has a quantizing option built in and a ton of settings to go with it. The problem that many people fall into is that they think quantization will fix their timing problems in general. But let me be honest, if you can’t play with the beat at least to a pretty decent level of accuracy, don’t think the quantize button is going to fix it. For Quantize to work, you have to get the notes at least CLOSE to where they go in the timeline.

Most of the time you can choose if you want the computer to quantize the notes immediately as you’re recording, or later when you go back to edit. But either way you are going to tell the software you want to snap the notes to the nearest 8th note (1/16 note, 1/2 note, etc.), so you have to be a good enough player to be able to place the notes pretty close to the correct time. If you are too sloppy, you’ll have notes shifting to the wrong places and the final product will sound horrible.


The Quantizing Catch – Should we?

Now that we are on the same page as to what quantizing is and how to do it, the big question on everyone’s mind is “Should we even do it in the first place?” First you go through and play in your parts, and then go back and correct all your timing mistakes with quantization. After all, it does seem a little like cheating, doesn’t it? That actually is a very good question… “Should we?”

I think it comes down to personal taste and style. Computer music done for the electronica scene will not doubt be heavily quantized. In fact often the programs used for this genre don’t even give an option to shut off quantize. Country, blues, gospel, opera or classical would be expected not to use this timing correction process, but I’m sure many do.

I remember hearing a Bruce Hornsby song where there was an orchestra and of course a piano part over the top of what sounded like a very synthetic drum track. In that case, I would assume the drums were heavily quantized and the rest was probably not. But who knows.

Personally, I don’t mind the rhythm tracks (bass, drums, etc.) to be mathematically perfect, but I prefer the humanness of the main instruments. The slight timing nuances of the players gives the music more life for me. That why I prefer live music to recordings anyway. But being a computer music buff, I also appreciate the heavily quantized sounds of the industrial music scene as well.

Tell me what you think. Do you have any quantizing tips, tricks, or stories? What do you think sounds best?

Posted on Leave a comment

Create Bass Lines from Drum Tracks (MIDI Tutorial)

I posted a new YouTube tutorial online. Check it out.

Have you ever wondered how to make a great bass line from scratch? Here’s one suggestion. This technique will allow you to create a great sounding bass line to go behind your song using nothing but a MIDI editor and a drum track.