Posted on 1 Comment

Working With Audio and MIDI

Understanding the Difference Between Audio Signals and MIDI Messages in Music

When diving into the world of digital music production, one of the essential distinctions to understand is the difference between audio signals and MIDI messages. Both play crucial roles in creating and manipulating music, but they function in fundamentally different ways.

What are Audio Signals?

Audio signals are continuous waveforms that represent sound. These signals can be analog or digital. Analog audio signals are continuous and vary in amplitude and frequency to represent sound waves. In digital audio, these continuous signals are converted into discrete binary data that can be processed by computers.

Key characteristics of audio signals:

  • Amplitude: Represents the loudness of the sound.
  • Frequency: Represents the pitch of the sound.
  • Waveform: The shape of the wave, which determines the timbre or quality of the sound.

What are MIDI Messages?

MIDI (Musical Instrument Digital Interface) messages, on the other hand, are digital instructions that tell an electronic musical instrument or software what to play. MIDI does not contain actual audio data; instead, it sends information about how music (notes) should be performed.

Key components of MIDI messages:

  • Note On/Off: Indicates when a note should start and stop.
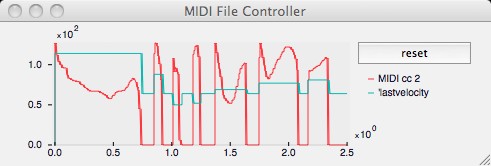
  • Velocity: Represents how hard a key is pressed, affecting the loudness and timbre.
  • Control Change: Adjusts parameters like volume, panning, modulation, and more.
  • Program Change: Switches between different instrument sounds or patches.

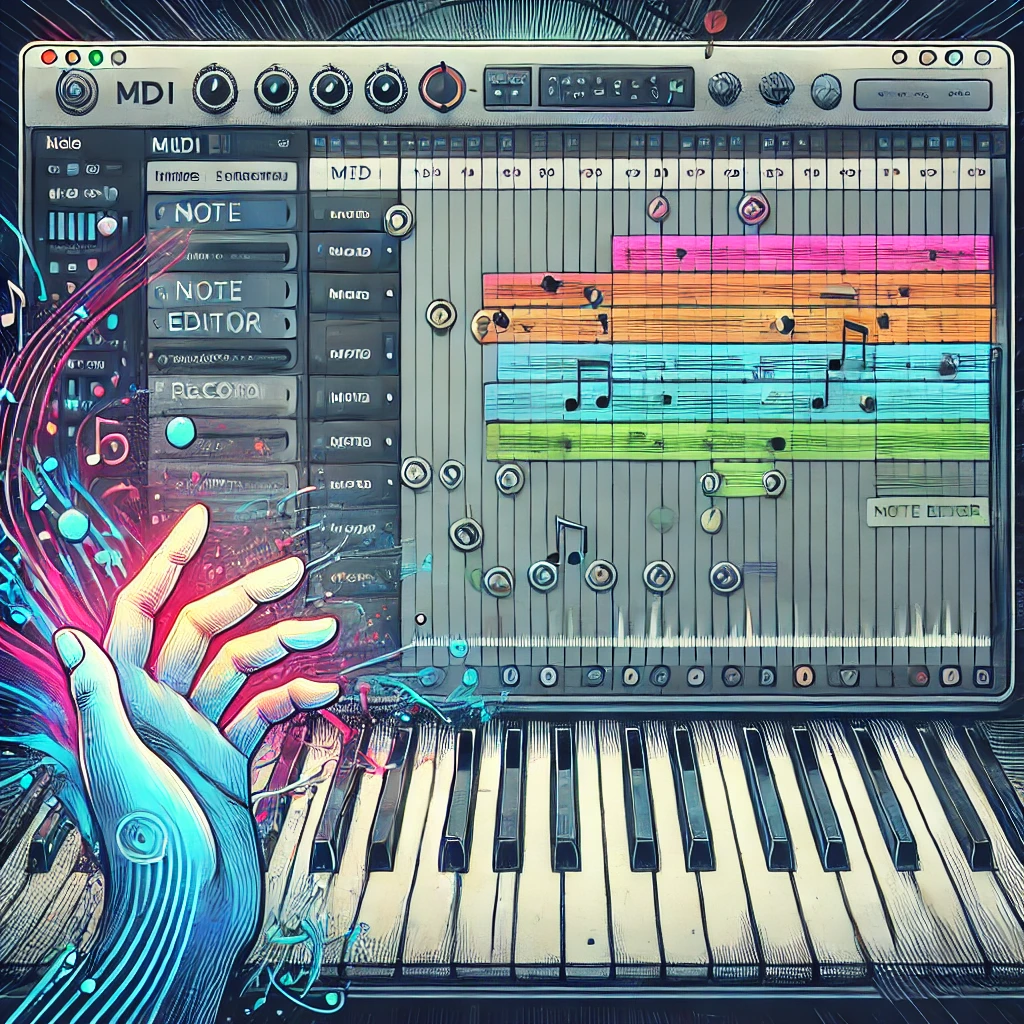
MIDI note message are often represented by a piano roll with notes and velocity bars. Each note is an instruction for a specific pitch, duration, and velocity, rather than an audio waveform.

Practical Example: Using a MIDI Keyboard

To understand how these two concepts work together, let’s consider a musician using a MIDI keyboard connected to a computer.

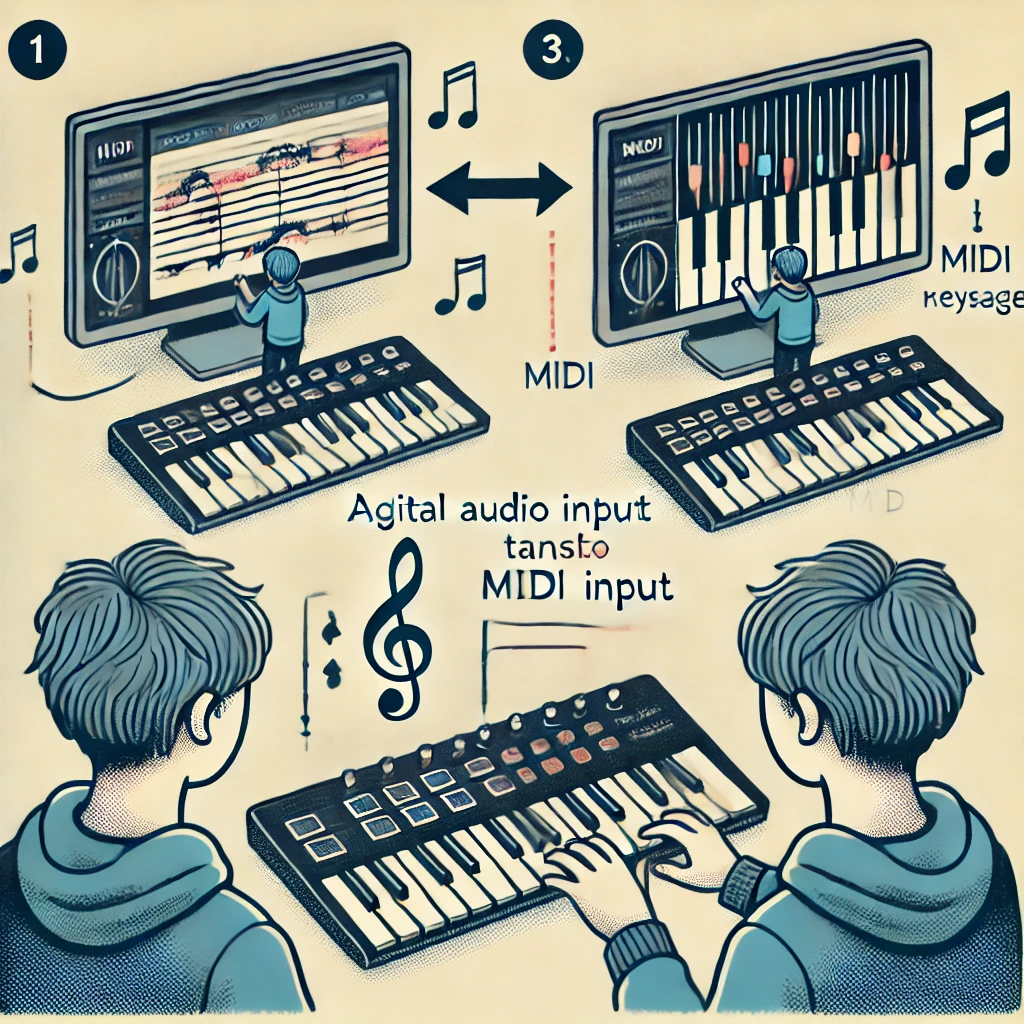
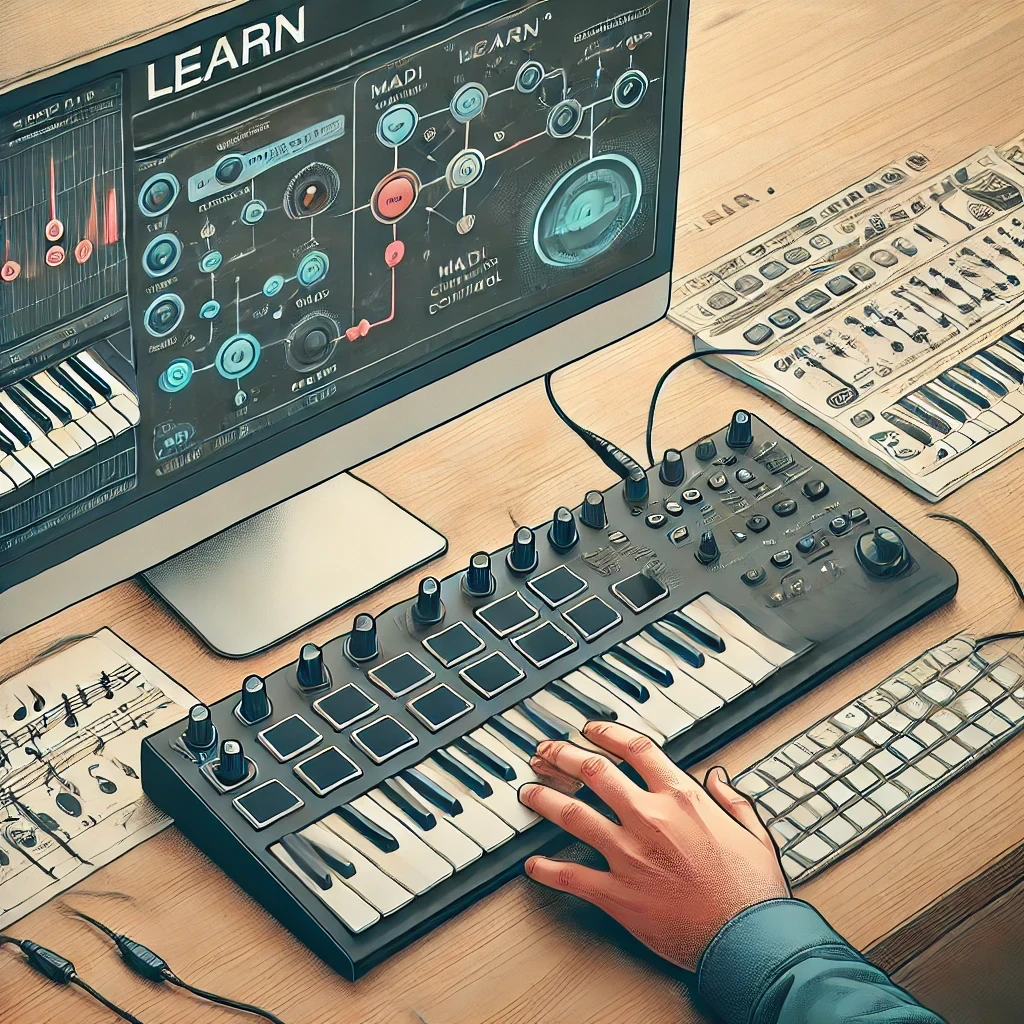
In basic terms, the musician plays a MIDI keyboard, which sends MIDI messages to the computer (or keyboards internal computer). The computer processes these messages in a digital audio workstation (DAW). On the screen, we see both a digital audio waveform and a MIDI piano roll.

  1. MIDI Input: When the musician presses a key, the MIDI keyboard sends a Note On message with the note’s pitch and velocity.
  2. MIDI Processing: The DAW receives these MIDI messages and can use them to trigger virtual instruments or external synthesizers.
  3. Audio Output: The sound generated by these instruments is then converted into an audio signal, which can be recorded as a digital audio waveform.

Why Understanding the Difference Matters

Understanding the difference between audio signals and MIDI messages is vital for several reasons:

  • Editing: MIDI data is highly editable. You can change notes, adjust velocities, and modify control changes without re-recording. This is not as easily done with audio signals.
  • Flexibility: MIDI allows you to use different virtual instruments or synthesizers without changing the original performance. In contrast, audio recordings are tied to the specific sound captured during recording.
  • File Size: MIDI files are much smaller than audio files because they only contain performance instructions, not the actual sound data.

Conclusion

Audio signals and MIDI messages are both integral to modern music production, each serving unique purposes. Audio signals capture the actual sound, while MIDI messages provide detailed instructions on how the music should be performed. By leveraging both, musicians and producers can achieve a high level of creativity and precision in their work. Understanding how to use and manipulate these two types of data is crucial for anyone involved in digital music production.

Posted on Leave a comment

How to Make General MIDI Sound Better

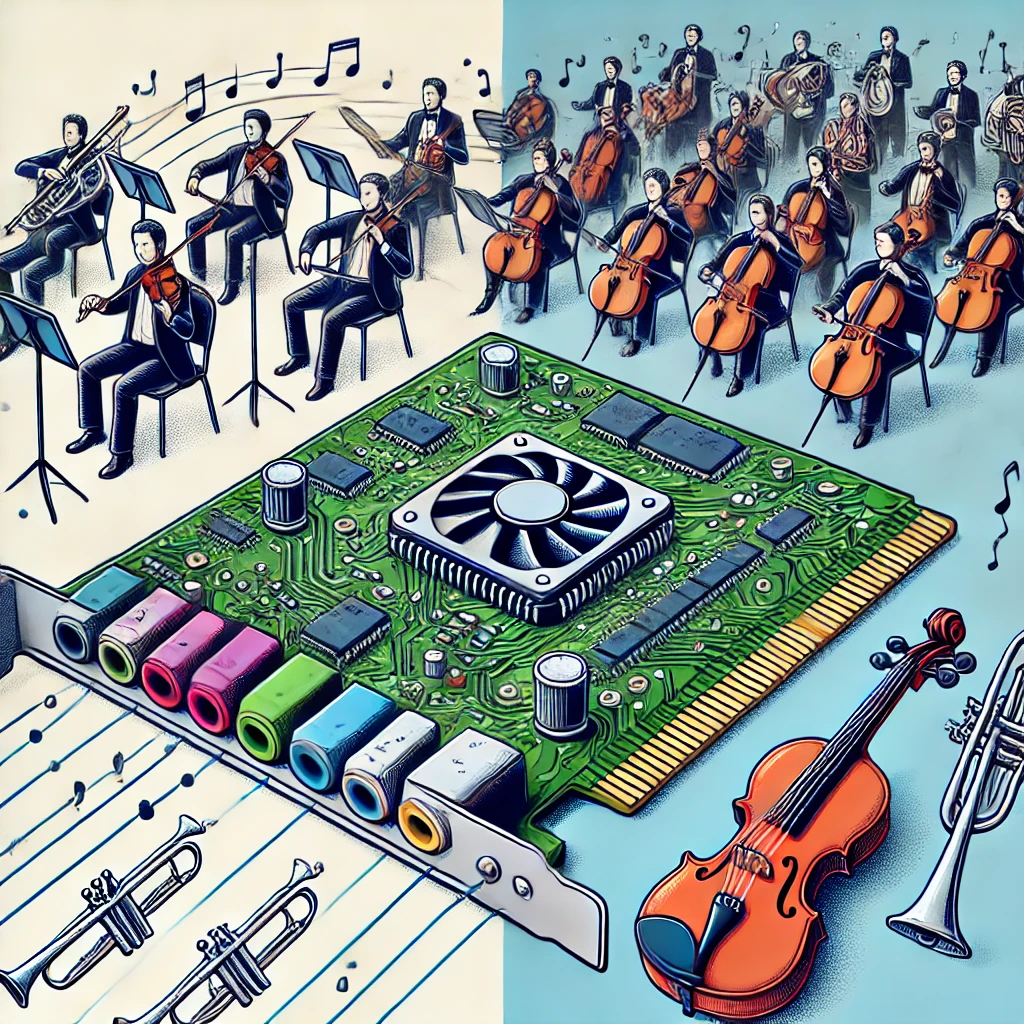
General MIDI (GM) is a standard protocol that allows electronic musical instruments and computers to communicate. While GM is great for ensuring compatibility across different devices, the quality of the sounds produced by many GM sound modules can be lackluster. If you want to enhance the sound quality of your General MIDI compositions, there are several strategies you can employ. Here’s how you can make your General MIDI sound better and improve the overall production value.

Understanding the Limitations

First, it’s important to understand why General MIDI might not sound as good as you’d like:

  • Basic Sound Samples: Many GM sound modules use basic and sometimes outdated sound samples that lack depth and realism.
  • Limited Expression: General MIDI can sometimes limit the expressiveness of the music, making it sound more mechanical.
  • Consistency Over Quality: GM was designed for compatibility, not necessarily for high-quality sound.

Strategies to Improve General MIDI Sound

  1. Upgrade Your Sound Module
    One of the most effective ways to improve your General MIDI sound is to use a higher-quality sound module or virtual instrument (VSTi). There are many software instruments available that provide high-quality samples and advanced synthesis options.

    High-Quality Soundfonts: Look for and use high-quality SoundFont libraries. SoundFonts are collections of sound samples that can replace the default GM sounds with better alternatives.
    Virtual Instruments: Invest in professional virtual instruments (VSTs) that offer superior sound quality and more control over the sound.

  2. Layering Sounds
    Layering sounds is a technique where you combine multiple sounds to create a richer, fuller result.

    Double Up: Use two or more instruments to play the same MIDI part. For example, layer a piano with a subtle pad to add warmth and depth.
    Use Different Octaves: Layer the same instrument in different octaves to create a fuller sound.

  3. Add Effects and Processing
    Applying effects can significantly enhance the sound of General MIDI instruments.

    Reverb and Delay: Adding reverb can make the sound more spacious and natural. Delay can add depth and interest.
    EQ and Compression: Use equalization (EQ) to fine-tune the frequency balance of your sounds. Compression can help control dynamics and add punch.
    Modulation Effects: Effects like chorus, flanger, and phaser can add richness and movement to your sounds.

  4. Use Automation
    Automation allows you to dynamically change parameters over time, adding expressiveness to your MIDI parts.

    Volume and Pan Automation: Vary the volume and stereo placement of your instruments to create a more dynamic mix.
    Effect Automation: Automate effects parameters, such as reverb amount or filter cutoff, to add movement and interest.

  5. Humanize Your MIDI
    General MIDI can sound robotic if every note is played with the same velocity and timing. Humanizing your MIDI can make it sound more natural.

    Velocity Variation: Vary the velocity of notes to mimic the natural dynamics of a live performance.
    Timing Adjustments: Slightly adjust the timing of notes to avoid a perfectly quantized (mechanical) feel.
    Randomization: Many DAWs have a humanize function that can automatically randomize velocities and timings within set parameters.

  6. Enhance with Live Instruments
    Where possible, blend in live recordings of instruments with your MIDI parts. This can add a layer of realism and warmth that purely digital sounds often lack.
    Live Overdubs: Record live instruments playing along with your MIDI tracks.
    Hybrid Approach: Use MIDI to control real hardware synthesizers or samplers and record the audio output.
  7. Mixing and Mastering
    A good mix and master can transform your MIDI tracks into polished, professional-sounding productions.
    Balance: Ensure that each instrument sits well in the mix and that no single part overpowers the others.
    Stereo Imaging: Use panning to place instruments in the stereo field, creating a sense of space.
    Final Touches: Apply mastering techniques to enhance the overall sound, including multi-band compression, limiting, and final EQ adjustments.

Improving the sound of General MIDI involves a combination of better sound sources, creative layering, effective use of effects, and careful mixing. By upgrading your sound module, humanizing your MIDI, and applying professional mixing techniques, you can significantly enhance the production value of your music. Remember, the goal is to make your music sound as expressive and dynamic as possible, bridging the gap between the limitations of General MIDI and the high-quality sound you desire.

Posted on 19 Comments

Download Free MIDI Drum Files

free_midi_collectionFree MIDI Files Collection

Download all of these free files, all at once. Click Here…

Free Samples

Jazz-n-Blues
12bar-1 12bar-4 12bar-6 12bar-7 Blues-10 Blues-2 Blues-7 Jazz-1 Jazz-12 Jazz-5

Download all of these free files, all at once. Click Here…

More like these found in:
Jazz and Blues MIDI Drum Tracks Master Collection - MIDI Tracks

Latin
Latin-9 Latin-6 Latin-39 Latin-29 Latin-24 Latin-21 Latin-2 Latin-15 Latin-3/4 Latin-6/8

Download all of these free files, all at once. Click Here…

More like these found in:
Latin Drum Tracks Master Collection - MIDI Tracks

Rock
Rock-3 Rock-30 Rock-33 Rock-42 Rock-49 Rock-7 Rock-13 Rock-16 Rock-20 Rock-26

Download all of these free files, all at once. Click Here…

More like these found in:
Rock MIDI Drum Beats Master Collection - MIDI Tracks

Folk
folk-1 folk-13 folk-18 folk-30 folk-33 folk-34 folk-38 folk-42 folk-46 folk-5

Download all of these free files, all at once. Click Here…

More like these found in:
Folk MIDI Drum Beats Master Collection - MIDI Tracks

3/4 and 6/8
3/4-13 3/4-19 3/4-2 3/4-23 3/4-8 6/8-10 6/8-15 6/8-2 6/8-20 6/8-7

Download all of these free files, all at once. Click Here…

More like these found in:
Alternate time signatures MIDI Drum Beats Master Collection - MIDI Tracks

Ethnic and World
ethnic-11 ethnic-17 ethnic-24 ethnic-28 ethnic-5 world-13 world-18 world-2 world-23 world-7

Download all of these free files, all at once. Click Here…

More like these found in:
Ethnic and World Drum Beats Master Collection - MIDI Tracks

Dance
dance-19 dance-21 dance-28 dance-3 dance-34 dance-4 dance-42 dance-47 dance-49 dance-8

Download all of these free files, all at once. Click Here…

More like these found in:
Dance Drum Beats Master Collection - MIDI Tracks

Contemporary
Contemp-10 Contemp-16 Contemp-27 Contemp3-3 Contemp-38 Contemp-4 Contemp-41 Contemp-46 Contemp-48 Contemp-7

Download all of these free files, all at once. Click Here…

More like these found in:
Contemporary MIDI Drum Beats Master Collection - MIDI Tracks

Posted on Leave a comment

MIDI Plug Pins Close Up

5 pins in MIDI Cable

Understanding the Pins of a MIDI Cable

A MIDI (Musical Instrument Digital Interface) cable is a key component in electronic music, allowing different devices to communicate. Let’s take a closer look at the pins of a MIDI cable and their specific functions.

5 pins in MIDI Cable

The 5 Pins of a MIDI Cable

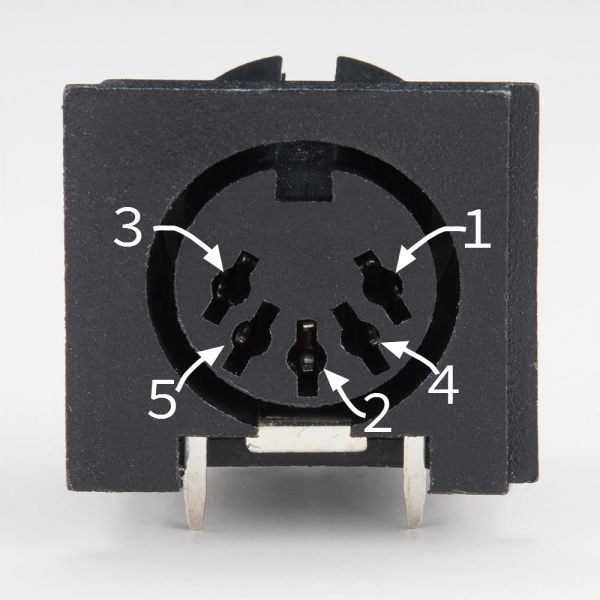
A standard MIDI cable has five pins arranged in a semicircle. Each pin has a distinct role:

    Note that the pins on the connector are numbered out of order — it’s as if two more pins were added between the pins of a 3-pin connector. To help keep it straight, the numbers are frequently embossed in the plastic of the connector.

    A MIDI cable is connected as follows:

    MIDI Cable Wiring
    First ConnectorCableSecond Connector
    Pin 1No ConnectionPin 1
    Pin 2ShieldPin 2
    Pin 3No ConnectionPin 3
    Pin 4Voltage Reference LinePin 4
    Pin 5Data LinePin 5

    The spec defines a maximum cable length of 50 feet (15 meters).

    Information above taken from this MIDI Tutorial: https://learn.sparkfun.com/tutorials/midi-tutorial/all

    The combination of pins 4 and 5 allows for the transmission of MIDI data between devices, enabling the flow of information such as note on/off, pitch, and control changes.

    Understanding these pin functions is essential for troubleshooting and ensuring proper connections between your MIDI devices. Proper grounding (pins 1 and 2) helps prevent noise and interference, while the data pins (pins 4 and 5) are crucial for accurate communication.

    In summary, knowing what each pin of a MIDI cable does can help you set up and maintain your electronic music equipment effectively. Whether you’re connecting keyboards, synthesizers, or other MIDI-compatible devices, this knowledge ensures smooth and reliable performance.

    Posted on Leave a comment

    What is a MIDI Sequencer?

    MIDI Sequencer

    In the world of digital music production, a MIDI sequencer is an essential tool. It allows musicians and producers to create, edit, and play back music by managing MIDI data. This blog will focus on sequencer software for computers but will also touch on the fact that many keyboards come with built-in sequencers.

    What is MIDI?

    Before diving into MIDI sequencers, let’s briefly recap what MIDI is. MIDI, or Musical Instrument Digital Interface, is a protocol that allows electronic musical instruments, computers, and other devices to communicate. It sends instructions on how to play notes, rather than the audio itself. This makes MIDI a powerful tool for composing and arranging music.

    What is a MIDI Sequencer?

    A MIDI sequencer is a device or software that records, edits, and plays back MIDI data. Think of it as a digital music sheet that can capture every note and expression you play on a MIDI instrument. Sequencers can be either hardware (like those built into some keyboards) or software that runs on a computer.

    Software MIDI Sequencers

    Software MIDI sequencers are applications you install on your computer. They offer a wide range of features and flexibility, making them popular among musicians and producers. Here are some key aspects of software MIDI sequencers:

    1. Recording: You can record MIDI data from your keyboard or other MIDI instruments directly into the sequencer. This captures the notes you play, along with velocity (how hard you hit the keys) and other performance nuances.
    2. Editing: Once recorded, MIDI data can be edited with precision. You can change notes, adjust timing, tweak velocities, and add or remove control changes. This level of detail allows you to perfect your performances and compositions.
    3. Playback: MIDI sequencers can play back your MIDI data through virtual instruments or external hardware. This lets you hear your compositions with different sounds and instruments.
    4. Arrangement: You can arrange your MIDI recordings into complete songs. Most sequencers support multiple tracks, so you can layer different instruments and parts to create complex arrangements.
    5. Integration: Software MIDI sequencers often integrate with digital audio workstations (DAWs), allowing you to combine MIDI sequencing with audio recording and production. This makes them powerful tools for music production.

    Built-in Sequencers in Keyboards

    Many modern keyboards come with built-in multi-track sequencers. These hardware sequencers offer similar functionalities to software sequencers, including recording, editing, and playback of MIDI data. While they might not offer the same depth of features as computer-based sequencers, they are convenient for live performances and on-the-go music creation. Here are a few advantages of built-in sequencers:

    1. Portability: You don’t need to carry a computer to use a built-in sequencer. Everything you need is within the keyboard, making it great for live performances and mobile music production.
    2. Ease of Use: Built-in sequencers are often designed to be user-friendly, allowing musicians to quickly record and arrange their music without needing to navigate complex software interfaces.
    3. Integration: Since the sequencer is part of the keyboard, integration with the instrument is seamless. You can easily access the sounds and features of the keyboard while using the sequencer.

    MIDI SequencersWhy Use a MIDI Sequencer?

    MIDI sequencers are invaluable for several reasons:

    • Creativity: They allow for experimentation with different arrangements, sounds, and compositions.
    • Precision: You can fine-tune every aspect of your performance, ensuring that your music sounds exactly how you want it.
    • Efficiency: Sequencers make it easy to record and edit music, saving time compared to manual methods.
    • Flexibility: With software sequencers, you can use a wide range of virtual instruments and plugins, expanding your sonic possibilities.

    In conclusion, a MIDI sequencer is a powerful tool for any musician or producer. Whether you use software on a computer or the built-in sequencer in a keyboard, the ability to record, edit, and play back MIDI data opens up endless creative possibilities. Understanding and utilizing MIDI sequencers can significantly enhance your music-making process, allowing you to create more complex and polished compositions.

    Posted on Leave a comment

    Sending Program Changes With MIDI

    When it comes to electronic music, MIDI (Musical Instrument Digital Interface) is a game-changer. One of its powerful features is the ability to send program changes. This means you can switch instruments or sounds on your MIDI device with just a simple command. Let’s dive into how this works and why getting your MIDI connections right is crucial.

    What are Program Changes?

    Program changes are MIDI messages that tell your electronic instrument to switch to a different preset sound or instrument. For example, you could switch from a piano sound to a guitar sound on your synthesizer without physically touching the instrument. This is incredibly useful during live performances or when recording in a studio, as it allows for smooth transitions between different sounds.

    Setting Up MIDI Connections

    Before you can send program changes, you need to ensure your MIDI devices are connected correctly. MIDI devices typically have MIDI In, MIDI Out, and sometimes MIDI Thru ports. Here’s a simple way to understand them:

    • MIDI In: Receives MIDI data from another device.
    • MIDI Out: Sends MIDI data to another device.
    • MIDI Thru: Passes MIDI data received at MIDI In to another device (used for daisy-chaining multiple devices).

    It’s essential to connect the MIDI Out of your controller (like a keyboard) to the MIDI In of your sound module or synthesizer. If these connections are incorrect, your devices won’t communicate, and no program changes will happen.

    Sending Program Changes

    Once your devices are connected, sending a program change is straightforward. Most MIDI controllers have buttons or dials that can send program change messages. Many devices manage and send program change MIDI messages automatically in the background, when you select the desired sound.

    For example, if you want to switch to a piano sound, you might select program number 1. If you want a guitar sound, you might choose program number 25. The specific numbers can vary based on the General MIDI standard or the specific setup of your device.

    Using the Learn Function

    Many modern MIDI software and keyboards come with a “learn” function. This feature makes mapping MIDI controls to specific software parameters incredibly easy. Here’s how it works:

    1. Activate Learn Mode: In your software (like a digital audio workstation or DAW), find the MIDI learn function. It’s often a button labeled “Learn” or “MIDI Learn.”
    2.  Select the Control: Click on the software parameter you want to control (e.g., volume slider, effect knob). In this case we want the patch/program selector.
    3.  Move the Control: Move the corresponding control on your MIDI device (e.g., turn a knob, press a button). The software detects this movement and maps the control to the selected parameter.

    This process ensures that your MIDI controller and software are perfectly in sync, making it easier to control your music.

    Why It’s Important

    Getting your MIDI connections right and understanding how to send program changes can significantly enhance your music-making process. It ensures that your instruments respond correctly to your commands, whether you’re performing live or working in a studio. Additionally, using the learn function simplifies the setup process and makes it easier to customize your controls.

    In summary, sending program changes with MIDI opens up a world of possibilities for musicians. By connecting your devices correctly and utilizing features like the learn function, you can streamline your workflow and focus more on creating great music. Whether you’re a beginner or an experienced musician, mastering these MIDI basics is essential for taking your music to the next level.

    Posted on Leave a comment

    What is General MIDI?

    General MIDI

    Imagine being able to connect different musical instruments, like keyboards, synthesizers, and computers, so they can all talk to each other. That’s exactly what MIDI, which stands for Musical Instrument Digital Interface, does. It’s like a common language that these devices use to communicate. But today, let’s talk about a specific part of this language called General MIDI. 

     Understanding MIDI 

    Before we dive into General MIDI, let’s quickly understand MIDI. MIDI is a system that sends instructions to electronic instruments. For example, when you press a key on a MIDI keyboard, it doesn’t actually make a sound. Instead, it sends a message to another device, like a computer or a synthesizer, telling it which note to play, how long to play it, and how loud it should be. 

     What is General MIDI? 

    General MIDI (often abbreviated as GM) is a standard that makes MIDI even more useful and consistent. It was introduced in 1991 to ensure that MIDI instruments and software can work together smoothly. GM does this by setting specific rules for how musical instruments should behave and sound. 

    Key Features of General MIDI 

    1. Instrument Standardization: In General MIDI, there are 128 standard sounds or “instruments” assigned to specific numbers. For example, program number 1 is always a piano, number 25 is a guitar, and number 49 is a string ensemble. This means that no matter what GM-compatible device you use, program number 1 will always sound like a piano. This consistency is really helpful when sharing music files with others or using different devices.


    1. Percussion Channel: General MIDI reserves one of the 16 available channels (channel 10) just for percussion instruments like drums. Each key on a MIDI keyboard is mapped to a specific drum sound. So, hitting a particular key will always produce the same drum sound on any GM-compatible device.


    1. Polyphony: GM requires that a device can play at least 24 notes at the same time. This is called polyphony. It’s important for creating rich and complex music, especially when using multiple instruments or chords.


    1. Standardized Control Changes: GM also defines certain controls, like volume, pan (which speaker the sound comes from), and modulation (vibrato effects). This helps ensure that music sounds the same, no matter which GM device plays it.


    Why is General MIDI Important? 

    General MIDI makes it easy to create, share, and play music across different devices without worrying about compatibility issues. If you compose a song on a GM keyboard and save it as a MIDI file, you can share that file with someone else who has a GM-compatible device, and it will sound almost the same. This standardization has made MIDI incredibly popular in the music industry, from professional studios to home setups. 


    Real-Life Examples


    Learning and Practicing: Many music teachers use GM keyboards to teach students. Students can practice at home on their own GM keyboards, and the sounds will be the same as in their lessons. 

    Gaming and Software: Video game composers often use GM because it ensures the music will sound right on any system that supports it. 

    Home Recording: Hobbyist musicians use GM in their home studios to create music that sounds professional and can be easily shared with others. 


    In conclusion, General MIDI is like a universal translator for electronic musical instruments. It ensures that no matter what device you use, the music will sound